


371
Hey everybody, It's Eli, back with more blogs to waste your time with! Now, I haven't been doing a lot of blogs lately, and it may be more reasons than the Valentine's Day blog I made a few months back. Now, the two new reasons being the new PMC feed (It's addicting as heck... And I love it!) and the mere fact that I'm trying to improve on my drawing skills. I've actually got much better at doodling on actual paper as time passes by, but my digital drawing skills are somewhat lacking. That may be because I don't have a track-pad with one of those stylus-like pen thingies, but who cares.
I actually decided to make a humorous drawing tutorial blog, all because there are people out there who can't draw. There isn't a lot of freelancing tutorials out there, and a lot of them are weird sticklike drawings that kinda serve as a "base" like this:
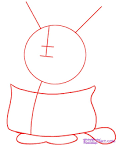
I mean... Ew. Unless you're more math-based, this method wasn't your cup of tea. Heck, even I couldn't understand the stick-method myself! I'm more of an imagination type of girl, so I can do just fine without that weird method! Anyways, without further ado, let us deep our artsy toes into this book, shall we?
Step One:
Grab a Template!
Now, to be a great freelancer, examples can be nice to take reference to. Newcomers can stare at that and try to trace on it as well. Let me tell you something: I used to be a tracer too.
Oh stop it. It's not cheating, my apprentice clod. It's called learning from practice. The more you trace something, the better you'll do without the drawing holding your hand.


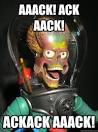
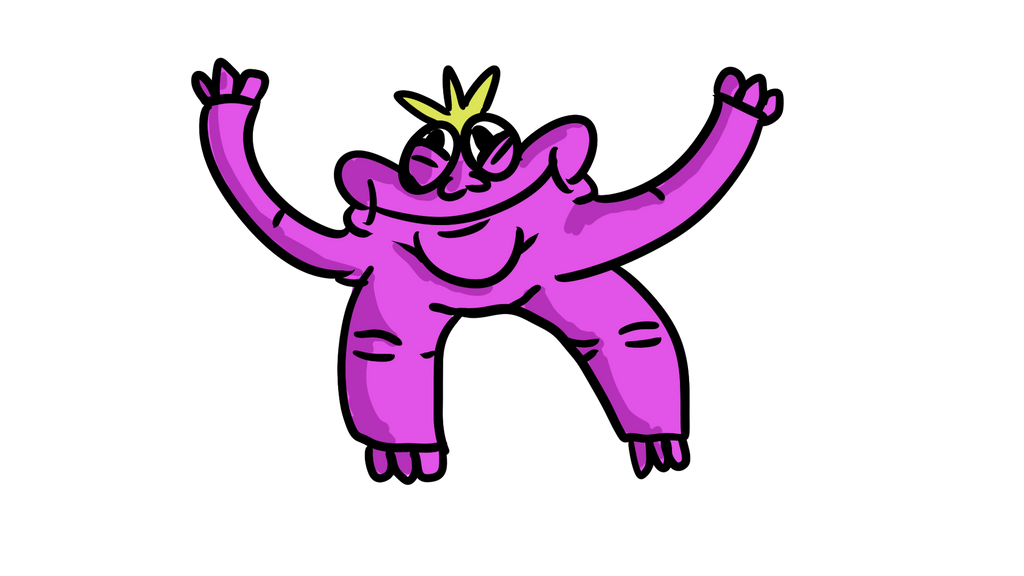
Eventually, you can even draw something ridiculous as this I whipped up a few weeks ago (depends on when you are reading this blog to make this time joke seem relevant) and still make it look incredible! Just... Look at it!

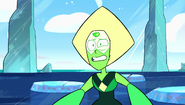
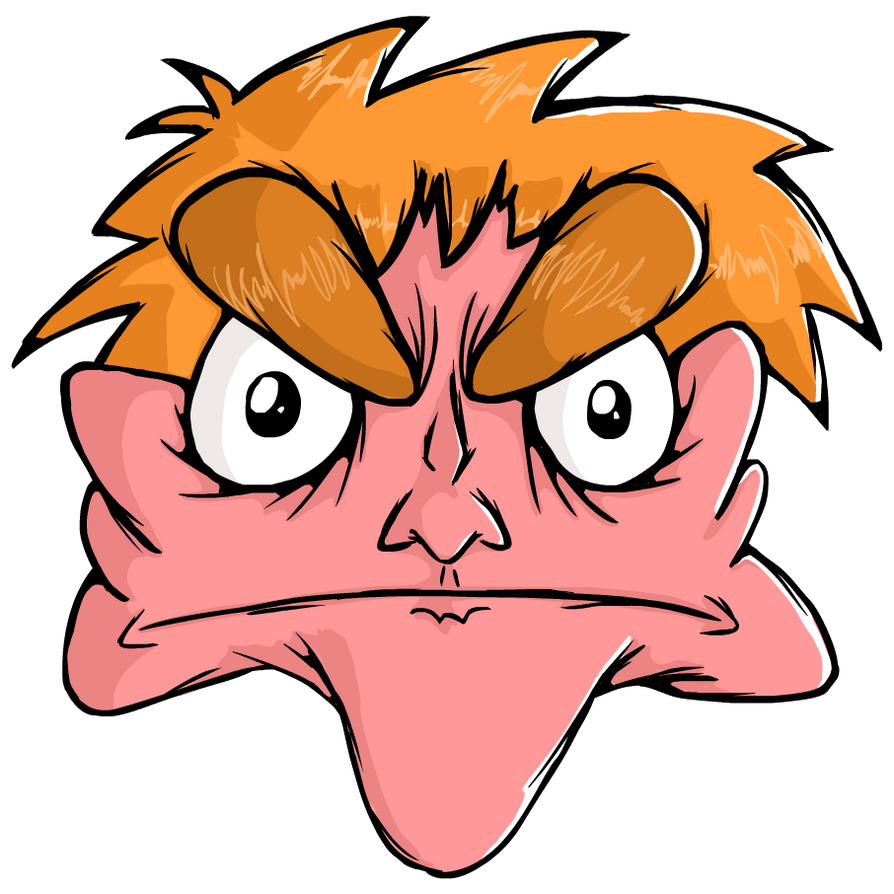
Whatever. If you don't care for looking at my art, go grab a template off of google right now. For me, I am doing IHE, or "I Hate Everything" as he is called. He's a YouTuber, and I recommend him because he's great, and I love him. Shameless promotion of another YouTube channel aside, let us go onto the next step!
Step Two:
Pencil Sketches!

Alright, when I was a kid, I admitted to drawing hardly with any type of pencil. Unfortunately, doing that is basically art suicide to freelancers becoming great, all because it's portrayed as a one-shot, and while erasing you get some crappy marks on your paper. Anywho, be sure to use the pencil gently to lightly sketch your masterpiece. Try light strokes to make your piece more accurate. Now, don't worry about erasing the rough marks, because that's what the 3rd step is for. Once you got your piece traced or drawn, move onto the next step!

Step Three:
Pen it Out!

Just to let you know, the pen is mightier than the sword (or pencil in this case). It can easily make or break your drawing. Remember, practice makes perfect. If you screw up, keep trying! Techniques for hair/fur can be those strokes you did with the pencil, and draw like a normal person would on the lines that are supposed to be normal. Huh? Those pencil marks are bothering you? Um... just move on to the next step, okay?

Step Four:
Erasing Those Gosh Darn Pencil Marks!

Oh yes, I know you're eager to erase the pencil marks, but hold up. Unless you are using colored pencils to color your piece, doing this is crucial. If using markers or whatever, pencil marks can be ugly for it, and can stain your piece with unwanted pencil smudges. Woah there! I see your overexcited hands trying to erase those marks! For the love of Pizza, don't erase anything yet, because sometimes pens can be grubby, and erasing it can lead to devastating effects. To prevent this, press your hand over the drawing and release it. If grubby, you should see pen marks on your hand. Don't freak out, because those you could rub, let it go, and wash it later. After you're done with that, time for the final step!


Step Five:
Coloring! (Optional)

Unless you want a monochromatic piece, coloring is great to being a zestfully clean and colorful freelanced drawing. I used pipsqueak markers for this one (because it's all I have with loads of vibrant colors, and I don't have colored pencils), but you could use any kind of coloring tool you want. I won't judge! Unless you want the creation to be randomly creative, like a blue IHE, I recommend making it exactly the colors used in the template.

Well, I guess you're done here! You've probably made a really good piece, or an abomination. Thankfully like I said, practice makes perfect, and anyone can be an artist if they try. Abominations will fade, but we are after all human. We all make mistakes in life, and so can we while drawing. No picture is exact, and that's what makes us unique. I guess I'll see you next time, when two new blogs start to come out in june, or an interesting blog contest that I can compete in (besides the one right now, in which due to a wifi problem, my entire story was gone when I submitted it, so I'm not entering that). I might as well be on my way, but until then, I hope you enjoyed this "book" of memes and drawings, and I'm crossing my fingers that you actually learned something from this. Adios Amigos!


I actually decided to make a humorous drawing tutorial blog, all because there are people out there who can't draw. There isn't a lot of freelancing tutorials out there, and a lot of them are weird sticklike drawings that kinda serve as a "base" like this:
I mean... Ew. Unless you're more math-based, this method wasn't your cup of tea. Heck, even I couldn't understand the stick-method myself! I'm more of an imagination type of girl, so I can do just fine without that weird method! Anyways, without further ado, let us deep our artsy toes into this book, shall we?
Step One:
Grab a Template!
Now, to be a great freelancer, examples can be nice to take reference to. Newcomers can stare at that and try to trace on it as well. Let me tell you something: I used to be a tracer too.
Oh stop it. It's not cheating, my apprentice clod. It's called learning from practice. The more you trace something, the better you'll do without the drawing holding your hand.
Eventually, you can even draw something ridiculous as this I whipped up a few weeks ago (depends on when you are reading this blog to make this time joke seem relevant) and still make it look incredible! Just... Look at it!
Whatever. If you don't care for looking at my art, go grab a template off of google right now. For me, I am doing IHE, or "I Hate Everything" as he is called. He's a YouTuber, and I recommend him because he's great, and I love him. Shameless promotion of another YouTube channel aside, let us go onto the next step!
Step Two:
Pencil Sketches!
Alright, when I was a kid, I admitted to drawing hardly with any type of pencil. Unfortunately, doing that is basically art suicide to freelancers becoming great, all because it's portrayed as a one-shot, and while erasing you get some crappy marks on your paper. Anywho, be sure to use the pencil gently to lightly sketch your masterpiece. Try light strokes to make your piece more accurate. Now, don't worry about erasing the rough marks, because that's what the 3rd step is for. Once you got your piece traced or drawn, move onto the next step!
Step Three:
Pen it Out!
Just to let you know, the pen is mightier than the sword (or pencil in this case). It can easily make or break your drawing. Remember, practice makes perfect. If you screw up, keep trying! Techniques for hair/fur can be those strokes you did with the pencil, and draw like a normal person would on the lines that are supposed to be normal. Huh? Those pencil marks are bothering you? Um... just move on to the next step, okay?
Step Four:
Erasing Those Gosh Darn Pencil Marks!
Oh yes, I know you're eager to erase the pencil marks, but hold up. Unless you are using colored pencils to color your piece, doing this is crucial. If using markers or whatever, pencil marks can be ugly for it, and can stain your piece with unwanted pencil smudges. Woah there! I see your overexcited hands trying to erase those marks! For the love of Pizza, don't erase anything yet, because sometimes pens can be grubby, and erasing it can lead to devastating effects. To prevent this, press your hand over the drawing and release it. If grubby, you should see pen marks on your hand. Don't freak out, because those you could rub, let it go, and wash it later. After you're done with that, time for the final step!
Step Five:
Coloring! (Optional)
Unless you want a monochromatic piece, coloring is great to being a zestfully clean and colorful freelanced drawing. I used pipsqueak markers for this one (because it's all I have with loads of vibrant colors, and I don't have colored pencils), but you could use any kind of coloring tool you want. I won't judge! Unless you want the creation to be randomly creative, like a blue IHE, I recommend making it exactly the colors used in the template.
Well, I guess you're done here! You've probably made a really good piece, or an abomination. Thankfully like I said, practice makes perfect, and anyone can be an artist if they try. Abominations will fade, but we are after all human. We all make mistakes in life, and so can we while drawing. No picture is exact, and that's what makes us unique. I guess I'll see you next time, when two new blogs start to come out in june, or an interesting blog contest that I can compete in (besides the one right now, in which due to a wifi problem, my entire story was gone when I submitted it, so I'm not entering that). I might as well be on my way, but until then, I hope you enjoyed this "book" of memes and drawings, and I'm crossing my fingers that you actually learned something from this. Adios Amigos!
| Tags |
tools/tracking
3926910
6
elis-how-to-draw-book-learn-to-freelance-i-guess


 NoahzArkade
 lissajonees
 ScotsMiser
 sniffercraft34
 Escapazition

 WYHA-Storm
Create an account or sign in to comment.
There aren't any smudges and I don't worry about not being able to erase it. If you color your piece then it's not really noticeable. Actually, erasing can affect the paper, so I try to avoid it.
Of course, I usually paint my pieces, so I'm not sure how it would work with markers (it can't differ too much though) But this is just a friendly suggestion/tip? :) Everyone prefers different techniques! Good luck with your future arts!
Well, I can kind of see how that can work better. It just takes a while to dry, that's all... But yeah, you have your ways, and I have mine, and together we'll be fine because it takes different strokes to move the world (Crap. I just said an 80s reference, lol.)! I won't say that my way is better or that yours is superior. We just have our own ways of drawing, and that's okay with me. :3
And also, may I add.
Your humour is on FIREEEEEE.
If any of that made sense.
By the way, upcoming blogs will have this type of humor, so... :3