

1
 Team
Team
Heya guys, Team here!
If your reading this your probably new, or you might be new to projects, you might have a interest in builds and you are good or bad at it. No matter if your good, bad, new, old, 2 months old, 19 years old, 172 years old, love skins, or even if you are a alien (Shh I won't tell anyone), the project section of the site is still for you!
To Begin:
Before we start with ANYTHING we want to start off by going to the Projects page, which you can reach by going to Browse on the menu and then click Projects.
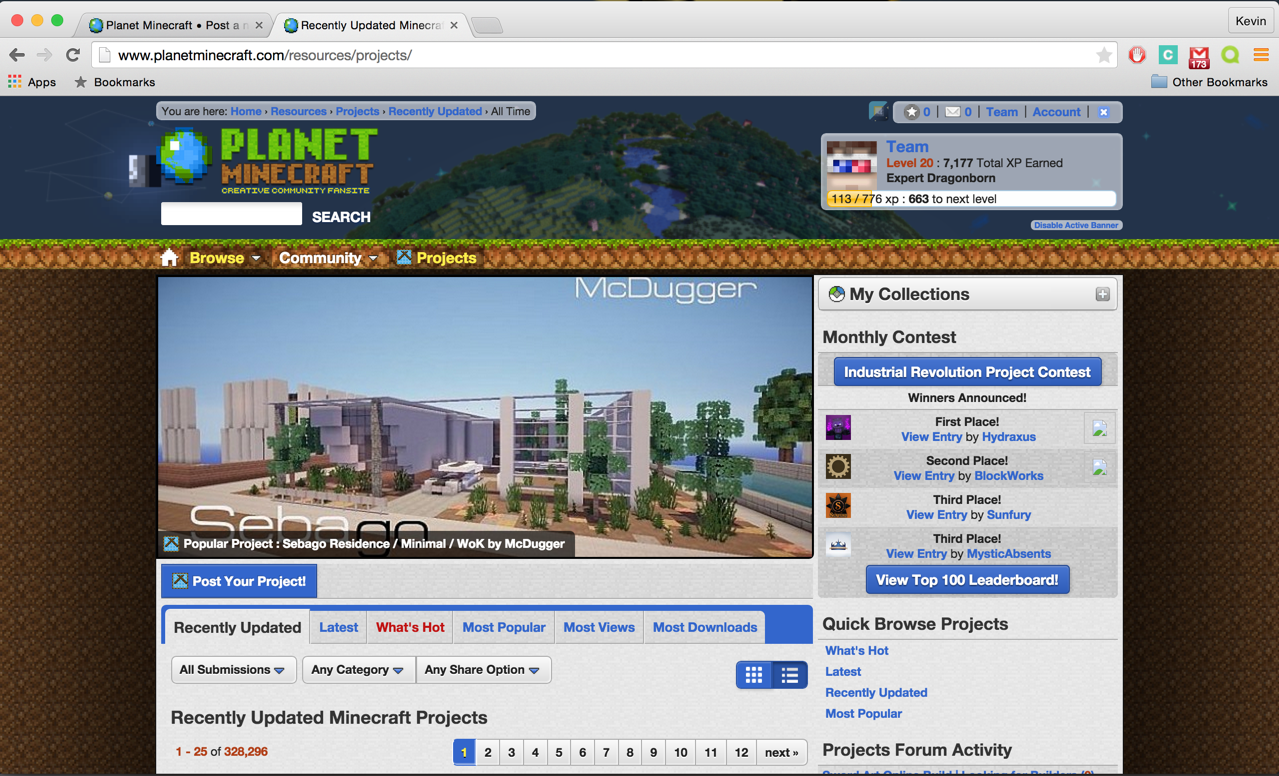
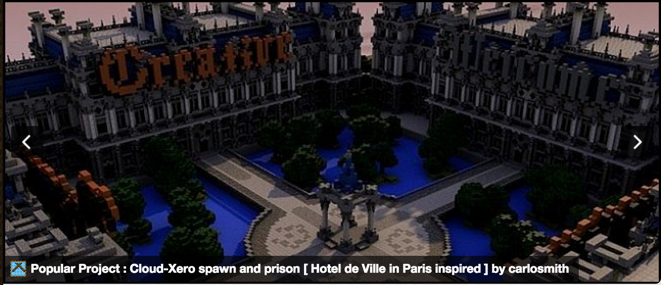
Top Slideshow:
This shows the current top projects that are most liked at the time. It's fun to view the cool projects made by the Planet Minecraft community!
Recently Update, Latest, What's Hot, Most Popular, Most Views, Most Downloads:
Due to this being in many pages, a separate topic has been made for this.

Search Options:
This will help you find what you are looking for, this includes options to search by types of builds, type of file, all submissions, your subscriptions, your favorites, or your submissions.

View Options:
Due to this being in every page, a separate help topic has been created about this.

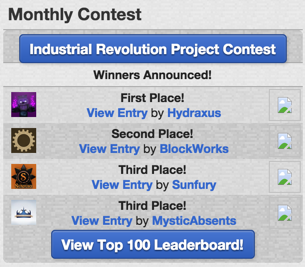
Monthly Contest:
Do you want some challenge while on PMC, then that is why we have contests. Contest allows you to show that you are the best builder of all and win prizes for it. Did you lose this one? Don't worry there is more to come! This section of the page shows the recent winners of the last contest.
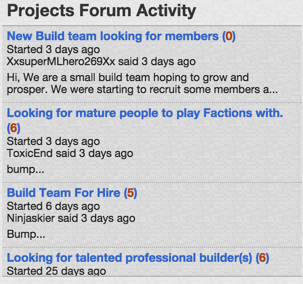
Projects Forum Activity:
Yes, there is a forum just about projects! Here you can find the most recent updated/created topics that were created in the forum.
Time to post a project!
To post a project you are going to want to click the button that reads, "Post Your Project!". For this tutorial we will be doing a example of a building of a house.
Important:
As we don't want to copy anyone, and we want to make sure everyone is happy, please read the terms/rules for projects before posting.

Publish Live:
Oh shoot you have to go, but your not done with the post yet? Well don't worry, by unchecking this, your project will remain as a draft and no one that isn't you can see it. Then you can edit it later, check publish live and share it with everyone. For this example, we will be leaving it checked.

Title:
The easiest thing in this tutorial yet the most important thing. Give your project a cool and unique title. Remember this will be shown with the image of the build so make it sound awesome to get many clicks! For this example we will be naming it, "The amazing one of a kind house"


Category:
When making a project we want to pick the best category that fits with the object. If it's a underwater house, then you would probably want to pick Water Structure. If it's a game of spleef, you would probably want to go with Other. For our example we shall use Land Structure.


Progress:
The Progress bar is to show how finished you are with the build so users can know if they can expect more from you. For our example we will use 90% as we are still missing a door.


Tools:
As there are many tools and every page has the same tools, a separate help topic has been created about this.

Body / Main Description:
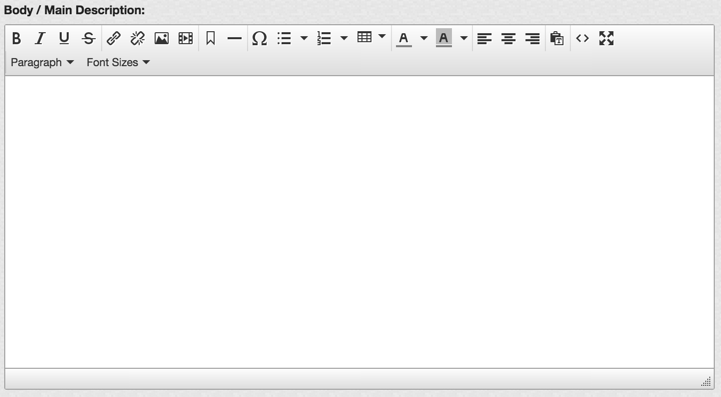
This is also a important part of the project, we want to convince the user to download and use our awesome project. We can write our inspiration, reason of build, blocks used, idea given by, credit, etc. For our example a short description was created.

Allow Comments:
If you want people to inspire you, give you advice, and help you out this is a good thing to enable. However if you are too embarrassed to hear the thoughts of people, it's best to turn this off. For our example, we will leave it on.

Additional Credit:
Did that person help you? Well we want to be fair, give them credit, it doesn't hurt . For our example we shall say that Paril helped me out.


Tags / Keywords:
If you want for your project to be easier to search then Keywords is the thing you should add. If your keyword is christmas, and someone searches christmas, your project will be on the list. We must always separate our keywords by commas. For our example lets do house, dirt, and unique.


Share Options:
We need our project to be available for download so we have three options on what we are able to do.
MCEdit Schematic:
If you don't know what a schematic is then don't worry about this however if you know what a World Edit schematic is, it's basically the exact same thing. To upload the schematic just click on the button and upload it as you would normally upload any file. We will not be using this for our example.

World Download URL:
This is what most people will be using and is a bit complicated. For this tutorial we will be using MediaFire. Create a account, login to your account, upload your world, and go to the download page. From there your want to right click the "Download" button and the "Copy Link Address" option. This is what we will want to paste in the World Download URL area. We will be using this for our example.


World Seed:
This is if you are showing off a awesome seed you saw and it's so amazing you want everyone to see. Since seeds are the same for all, you can give them the seed it's on. We will not be using this for our example.

Youtube Video Code:
If you want to show your amazing map with a youtube video then you need your youtube video code. The youtube video code is everything after the /watch?v=. For example the youtube code for https://www.youtube.com/watch?v=Rvs5S6S4sxk would be Rvs5S6S4sxk. Since we do not have a youtube video for our example, we will leave this empty.

Images:
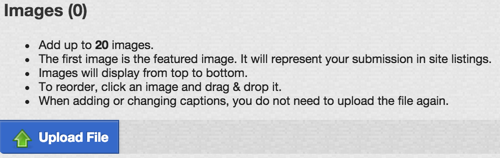
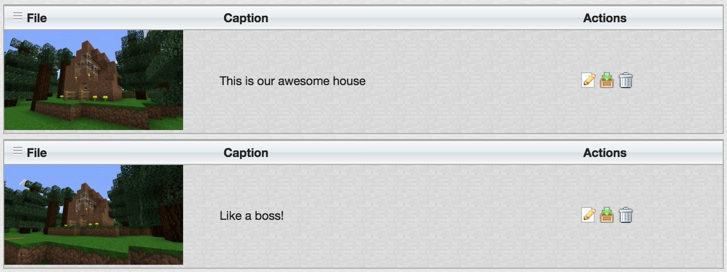
Images are the first thing the person sees when viewing your project so this is one of the most important parts that you want to make look good. To add a image press Upload File and add any JPG or PNG file you have. You can even add a caption! We have uploaded pictures for our example.
Canceling:
Do you just not like your project and think that it's worth just restarting instead of editing? Then the cancel button is for you. Please use this wisely as there is no undoing this.

Saving:
Are you ready to share your work to the public! Then press that save button for everyone to see. You are now done with the project. Congrats!


If your reading this your probably new, or you might be new to projects, you might have a interest in builds and you are good or bad at it. No matter if your good, bad, new, old, 2 months old, 19 years old, 172 years old, love skins, or even if you are a alien (Shh I won't tell anyone), the project section of the site is still for you!
To Begin:
Before we start with ANYTHING we want to start off by going to the Projects page, which you can reach by going to Browse on the menu and then click Projects.
Top Slideshow:
This shows the current top projects that are most liked at the time. It's fun to view the cool projects made by the Planet Minecraft community!
Recently Update, Latest, What's Hot, Most Popular, Most Views, Most Downloads:
Due to this being in many pages, a separate topic has been made for this.
Search Options:
This will help you find what you are looking for, this includes options to search by types of builds, type of file, all submissions, your subscriptions, your favorites, or your submissions.
View Options:
Due to this being in every page, a separate help topic has been created about this.
Monthly Contest:
Do you want some challenge while on PMC, then that is why we have contests. Contest allows you to show that you are the best builder of all and win prizes for it. Did you lose this one? Don't worry there is more to come! This section of the page shows the recent winners of the last contest.
Projects Forum Activity:
Yes, there is a forum just about projects! Here you can find the most recent updated/created topics that were created in the forum.
Time to post a project!
To post a project you are going to want to click the button that reads, "Post Your Project!". For this tutorial we will be doing a example of a building of a house.
Important:
As we don't want to copy anyone, and we want to make sure everyone is happy, please read the terms/rules for projects before posting.
Publish Live:
Oh shoot you have to go, but your not done with the post yet? Well don't worry, by unchecking this, your project will remain as a draft and no one that isn't you can see it. Then you can edit it later, check publish live and share it with everyone. For this example, we will be leaving it checked.
Title:
The easiest thing in this tutorial yet the most important thing. Give your project a cool and unique title. Remember this will be shown with the image of the build so make it sound awesome to get many clicks! For this example we will be naming it, "The amazing one of a kind house"
Category:
When making a project we want to pick the best category that fits with the object. If it's a underwater house, then you would probably want to pick Water Structure. If it's a game of spleef, you would probably want to go with Other. For our example we shall use Land Structure.
Progress:
The Progress bar is to show how finished you are with the build so users can know if they can expect more from you. For our example we will use 90% as we are still missing a door.
Tools:
As there are many tools and every page has the same tools, a separate help topic has been created about this.
Body / Main Description:
This is also a important part of the project, we want to convince the user to download and use our awesome project. We can write our inspiration, reason of build, blocks used, idea given by, credit, etc. For our example a short description was created.
Allow Comments:
If you want people to inspire you, give you advice, and help you out this is a good thing to enable. However if you are too embarrassed to hear the thoughts of people, it's best to turn this off. For our example, we will leave it on.
Additional Credit:
Did that person help you? Well we want to be fair, give them credit, it doesn't hurt . For our example we shall say that Paril helped me out.
Tags / Keywords:
If you want for your project to be easier to search then Keywords is the thing you should add. If your keyword is christmas, and someone searches christmas, your project will be on the list. We must always separate our keywords by commas. For our example lets do house, dirt, and unique.
Share Options:
We need our project to be available for download so we have three options on what we are able to do.
MCEdit Schematic:
If you don't know what a schematic is then don't worry about this however if you know what a World Edit schematic is, it's basically the exact same thing. To upload the schematic just click on the button and upload it as you would normally upload any file. We will not be using this for our example.
World Download URL:
This is what most people will be using and is a bit complicated. For this tutorial we will be using MediaFire. Create a account, login to your account, upload your world, and go to the download page. From there your want to right click the "Download" button and the "Copy Link Address" option. This is what we will want to paste in the World Download URL area. We will be using this for our example.
World Seed:
This is if you are showing off a awesome seed you saw and it's so amazing you want everyone to see. Since seeds are the same for all, you can give them the seed it's on. We will not be using this for our example.
Youtube Video Code:
If you want to show your amazing map with a youtube video then you need your youtube video code. The youtube video code is everything after the /watch?v=. For example the youtube code for https://www.youtube.com/watch?v=Rvs5S6S4sxk would be Rvs5S6S4sxk. Since we do not have a youtube video for our example, we will leave this empty.
Images:
Images are the first thing the person sees when viewing your project so this is one of the most important parts that you want to make look good. To add a image press Upload File and add any JPG or PNG file you have. You can even add a caption! We have uploaded pictures for our example.
Canceling:
Do you just not like your project and think that it's worth just restarting instead of editing? Then the cancel button is for you. Please use this wisely as there is no undoing this.
Saving:
Are you ready to share your work to the public! Then press that save button for everyone to see. You are now done with the project. Congrats!
Create an account or sign in to comment.
