641
Hello guys!
I'm here today to show you guys how to make advanced/beginner wallpaper/pictures. Advanced will consist of using in-game minecraft, and getting the perfect pose. Whilst beginner is an entirely done program, which is easy to do in 5 steps!
Let's Begin!



This section is mean't to be used for people without much experience in taking screenshots/editing. If you don't know if you do, you can check out the advanced section below. They are both step-by-stepped, so do not worry!

Requirements:
- Browser Program - EX: Google Chrome, Internet Explorer (crap), Mozilla Firefox
Instructions:
1. Open a new tab in your browser. Once you have completed this simple task, go ahead and copy and paste in this address: minecraft.novaskin.me/wallpapers

2. Now that you have completed that, you will now be prompted to choose a select an image. Go ahead and choose your favorite image you want to feature.
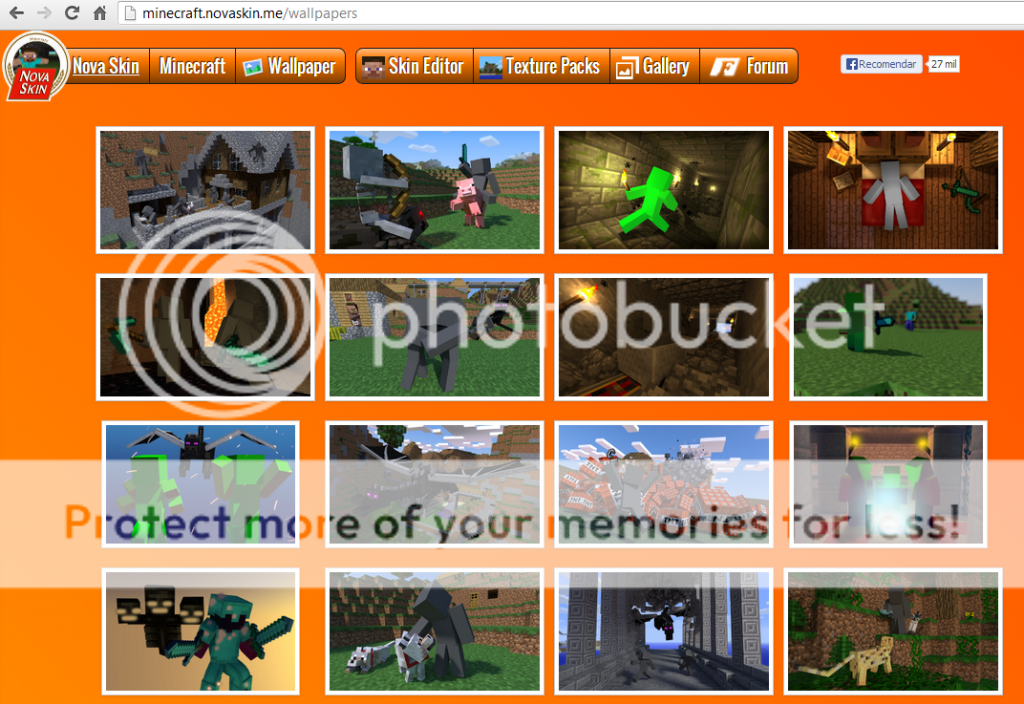
3. With currently 32 choices, you can make your Minecraft skin almost perfectly in sync with the background! Just open up a skin, or choose one provided for you!

4. Now that you have chosen your skin, you can complete the wallpaper. Simply scroll down, and choose your desktop size. Otherwise, if you don't know, just choose the biggest picture, for maximum quality. Once you are done choosing your size, you can choose an effect as well, then simply right-click, "Save As", and name your wallpaper!


With those 4 steps complete, you have just made a simple wallpaper! It can be really neat, and look great! But obviously there are only 32 choices, and the one you want may not be in there! Many of these pictures are great and all, but you may want a different positioning of sorts. Continue down to the advanced section to learn more about making your very own wallpaper!



Advanced wallpapers utilize the screenshot of Minecraft and allows for custom wallpapers. It can be very difficult to use, but you can edit as much as you please! All you need to do is have good editing skills, and follow this step-by-step tutorial. It isn't too bad, and can actually be used by many new players. Let's begin!

Requirements:
- Graphic Editor Program - EX: Paint.net, Gimp, Photoshop
- Minecraft - DUH
- Browser Program - EX: Google Chrome, Internet Explorer (poop), Mozilla Firefox
Instructions
1. Begin by opening up Minecraft. You will need to make some sort of structure where you want your character to stand/pose. Here's an example on what I mean:
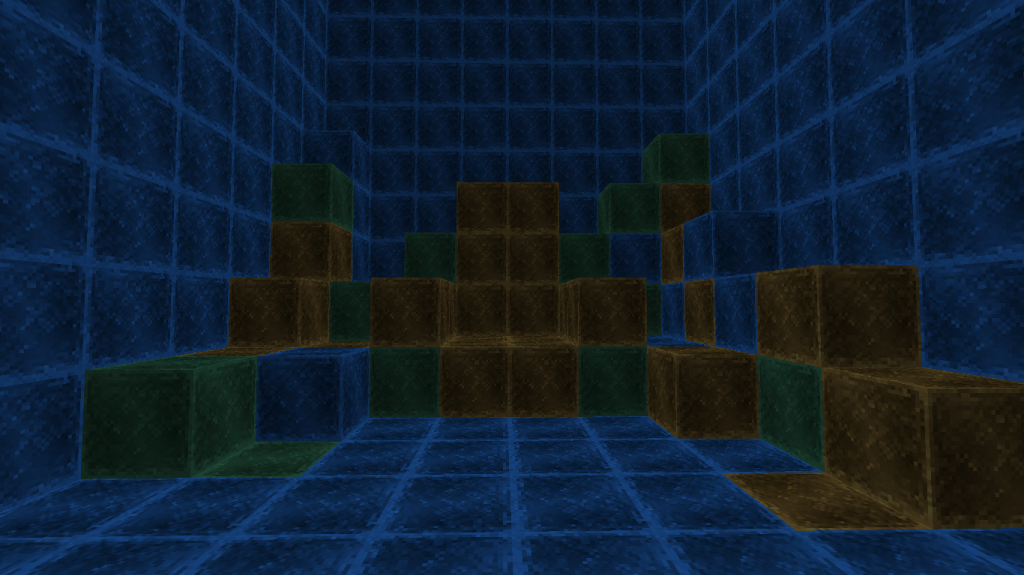
2. Once you choose the background you want your character to be in, you can open it up with your Graphic Editing Program. I am using Paint.net, which is free, and is easy to use! You can find the link to download it here.
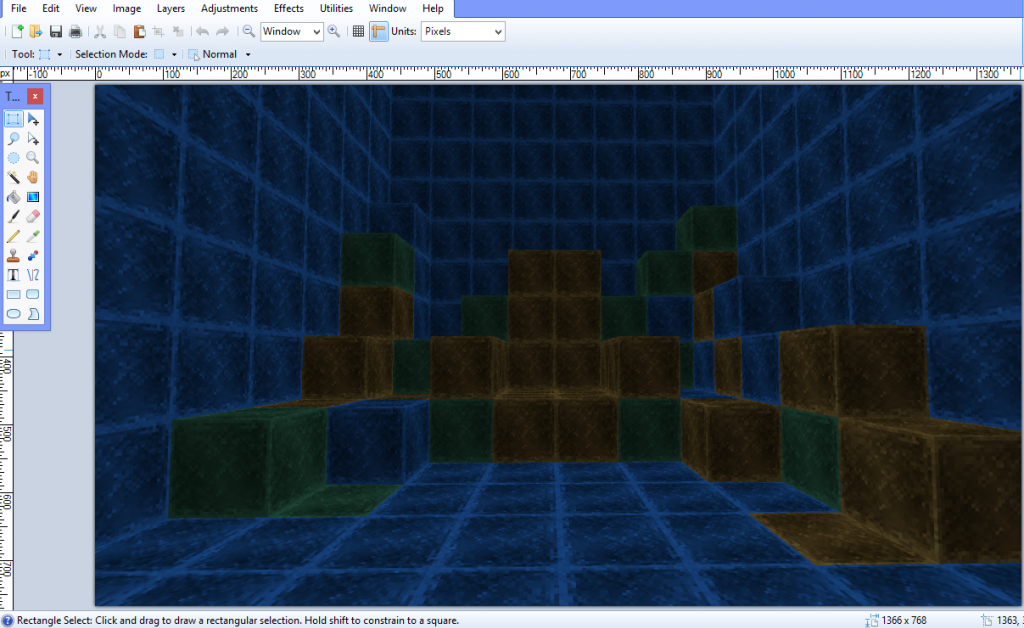
3. Now that you have it opened, prepare your browser. We will now add your character into the scene. This is entirely your choice, you can copy and paste this link into your address bar: minecraft.novaskin.me/
Once it is put, you will now have to pose your character, first of all choose the character/skin of your liking, or open one.
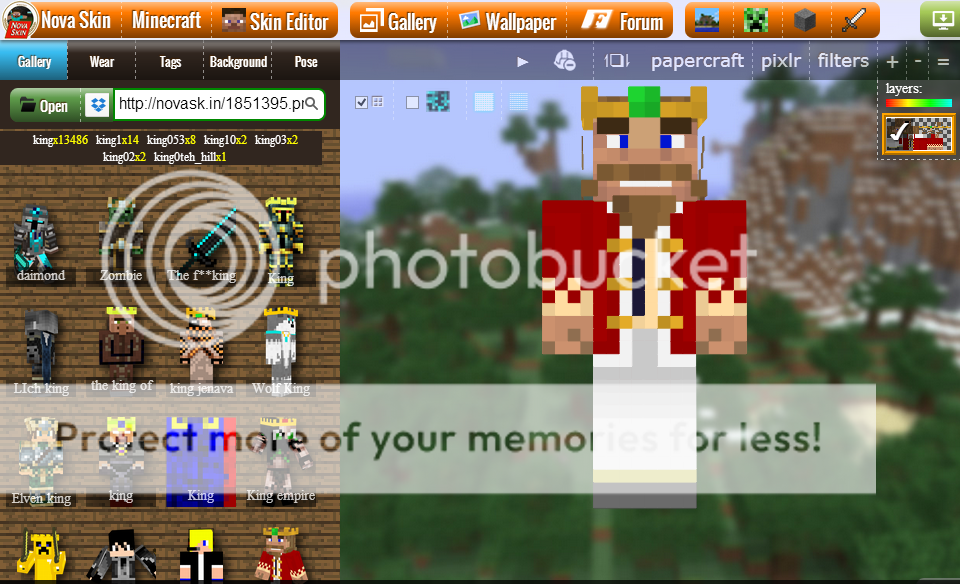
I decided to use the King from CaptainSparkle's Fallen Kingdom. You can open one that you had created/downloaded as well.
4. Once you have selected your proper skin/character you may now pose him in the position you wish. Go to the "Pose" section, and fiddle with that. Once you get him in the position you like, you can then click on "Screenshot" in the upper right corner.
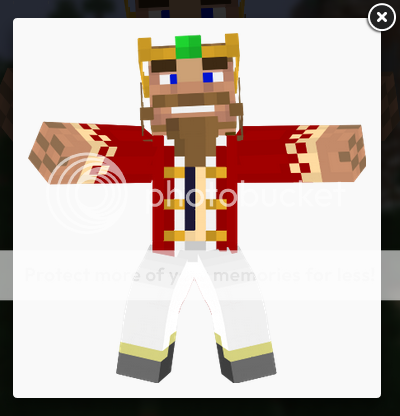
Now that it has given you your screenshot, you can now right-click, then select "Copy Image". Once you have copied it, you can return back to Paint.net.
5. Your next step is to create a new layer. You can find this on Paint.net by looking in your "Layers" and "Add New Layer".
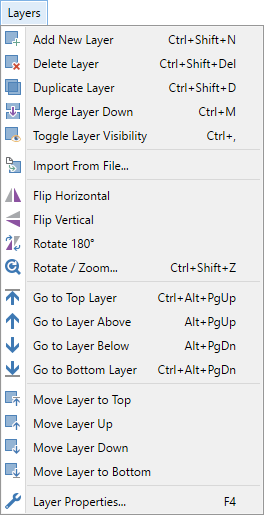
Once you add this layer, you can now paste your picture, and edit it into perfection. You will need some background skill with making your image look in a proper position, so please go ahead and fiddle with your program if you are new!
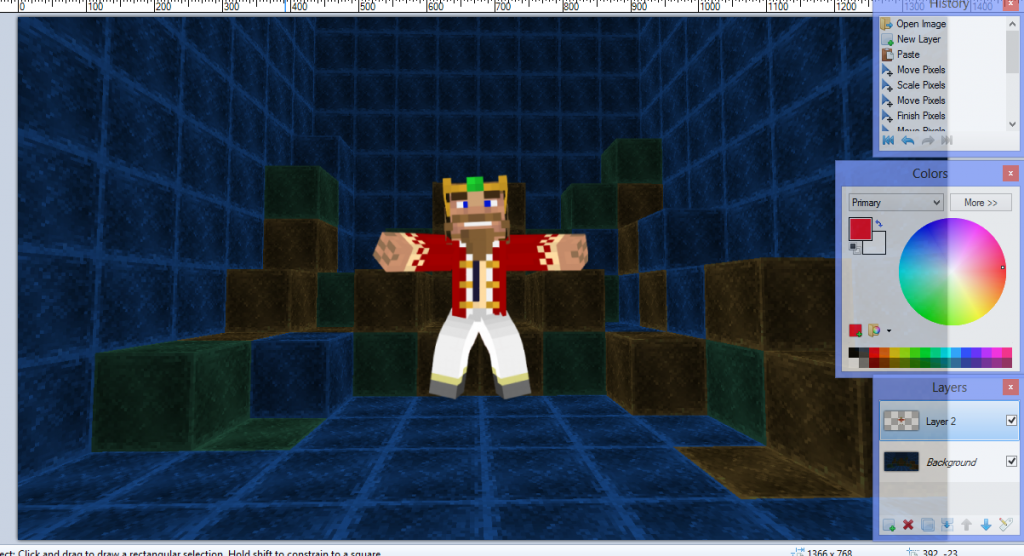

Once you have done this, you now know the basics and can add text, and other elements to this picture. This is just the basics, and I won't be giving you much more advice. If you look below, here is one my pictures I've done recently:
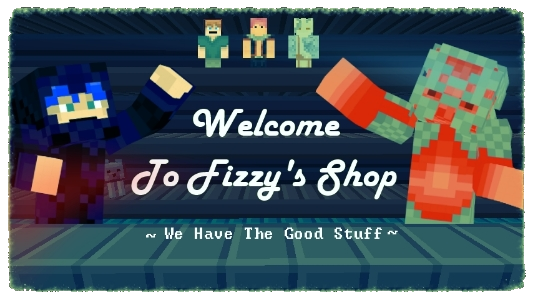
This took me about 45 minutes all together to get the perfect position, and pose all of them to perfection. As you can see, I cut the bottom of their body to give the effect that their legs are under the counter. As you can see you need to be able to make it look realistic. Do your best, and don't be afraid to ask for help! I will be helping everyone and everything that I could, so leave a comment below!

| Tags |
tools/tracking
2341687
6
how-to-make-advancedbeginner-wallpaperpicture-for-minecraft


![[FULL TUTORIAL + PICTURES] How To Make Custom Text/Font Blogs, Correctly! Minecraft Blog](https://static.planetminecraft.com/files/resource_media/screenshot/1332/Custom-Text_6151553_thumb.jpg)

Create an account or sign in to comment.
if you didn't exist,boy, my first blog wouldn't exist!