


46
Step 1 - Installation
Download (if you haven't already) Blockbench. If you are using default textures for your icon as well, I suggest downloading them off mcasset, which is a website to get all the official textures from every minecraft version.
Step 2 - Blockbench
once blockbench is launched, create a new Java Block/Item project. Which should then bring you to this:
( Do not rotate or move the camera position)
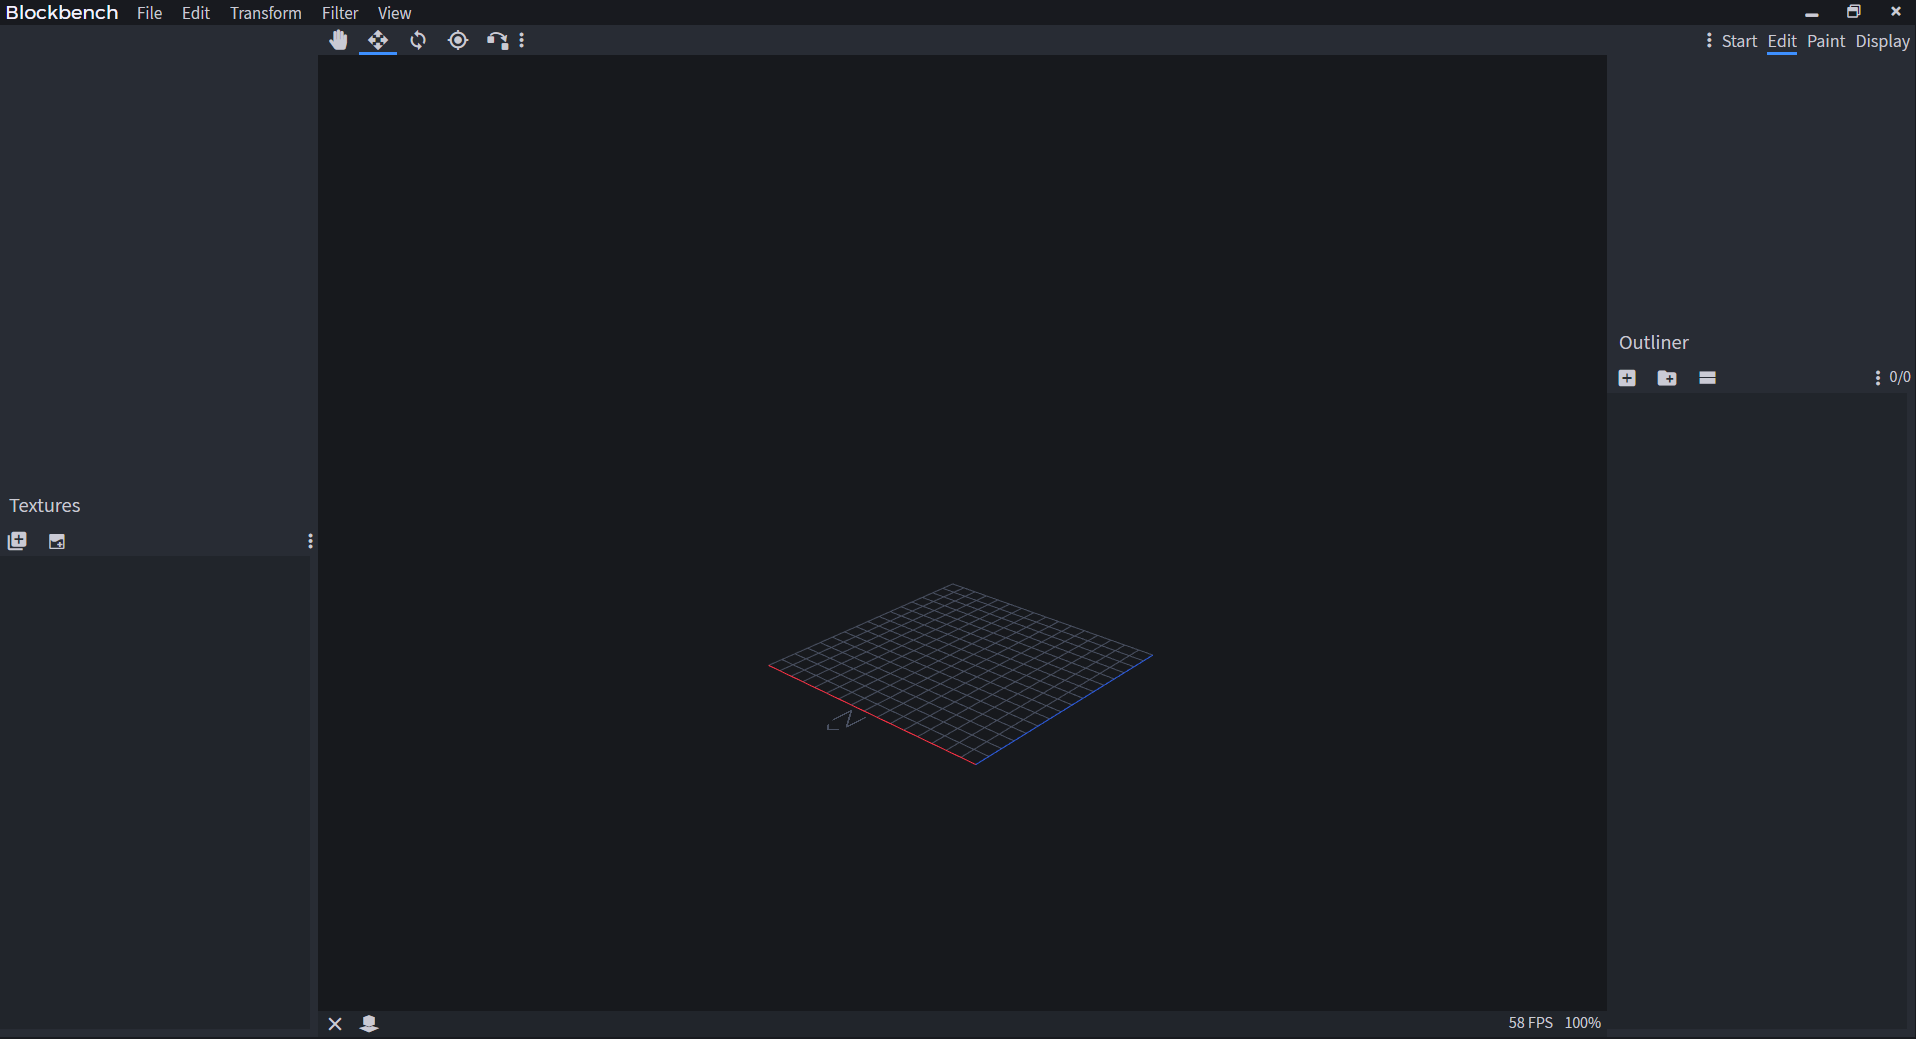
over in the right side, click that square with a plus in it to make a new cube.
up at the top above the workspace area, theres a few buttons. click the button next to the hand icon which the button you click should be the resize button.
Once clicked, resize the cube you made to 16x16x16.
( Do not rotate or move the camera position)
Image
over in the right side, click that square with a plus in it to make a new cube.
up at the top above the workspace area, theres a few buttons. click the button next to the hand icon which the button you click should be the resize button.
Once clicked, resize the cube you made to 16x16x16.
Step 3 - Texturing
Now that you have your cube, its time to add textures! down in the left side, theres a textures tab. click the square with the plus, and select your textures.
Once the textures are selected, you can then drag the textures on the sides of the cube or, in the explorer on the right drag it on the cube to apply the texture to all sides.
Once the textures are selected, you can then drag the textures on the sides of the cube or, in the explorer on the right drag it on the cube to apply the texture to all sides.
Step 4 - Screenshooting & Sharing
Once you are satisfied, time to post your new icon!
zoom in and out, rotate the camera as you please and when ready, up at the top of the app, click view > screenshot > screenshot model. and save the screenshot anywhere.
Now, to make the image a square, you should slap the image in some sort of image editing software like photoshop. I reccomend an image size of 512x512.
(Try to scale the cube so you can't see anything else.)
once done, i reccomend posting the image to an image hosting site like cubeupload for posting it as an image in forums or other places.
| Credit | haha microwave go mmmmmmm |
| Tags |
tools/tracking
4554371
6
how-to-make-block-texture-pack-icons

 User5107650G
 KongPlayz
 Thing5Rox
 MiloNotTea_5398
 Dreadstrike Inferniclaw
 Bubblez705
 r3dleaf
 CrystalRuby
Create an account or sign in to comment.