


7
Hello!
today i thought i might show some of you how to shade hair simply. i use it a lot for my skins, and once you understand the boundaries and how it works, it's pretty easy to remember! also, you don't have to be a masterpiece artist to learn!the editor i'll be using is the PMC editor.
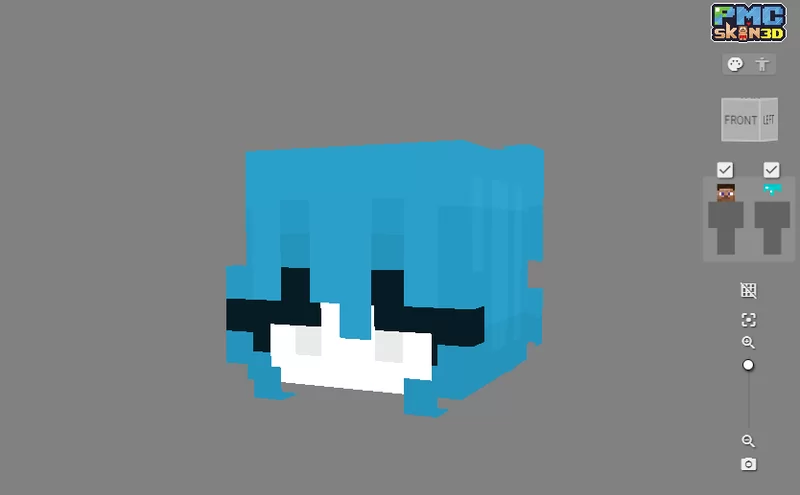
Step 1 - color the base


First you'll want to fill the head with your base color that you want your hair to be, leaving out spaces for the face as seen in the first and second image.
Step 2 - Start detailing
If you're worried about having to scale the color wheel and be super precise, fear not! we'll be using a super-important tool called "HSL Shift mode". it changes hue, saturation and brightness without you having to worry about being exact.
Under pixel brush, select HSL Shift Mode and set the saturation and lightness shift settings to these exact percentages:

(Saturation Shift: 101% , Lightness Shift: 98%)
After you're done with that, paint the back of the head in a similar pattern to the picture, leaving the 2x2 pixels at the top of the head blank (you'll see why later)

then, take the brush (still with these settings) and paint over the 2x2 pixels on the bottom so that they look something like this:

See how detailed that looks? it looks nice and professional.
Lastly, go back to your HSL Shift brush and edit the settings to be almost opposite of the darker shade settings, as seen below:

(Saturation Shift: 98% , Lightness Shift: 102%)
Then go back to the top of the hair, coloring the spaces between where the 2 colors meet. this is basically the lighting for the hair.

And that's it! it's a pretty easy way to shade hair imo.
You can apply this to all sides of the head, besides the front, top and the bottom. you can color the front and bottom to match with the other colors, like so:

For the top of the head, you can take the darkest color we used for shading and draw a narrow block somewhat in the middle. then you can take the 2nd darkest color (not the darkest, but not the lightest) and color the outer pixels inside the box, kind of making it look like some weird bug. you can then color the outside pixels outside the box for the other darker parts (i suck at explaining so i recommend looking at the images below)


And that's the top for you! it's not too hard.
Step 3 - Overlay Shading
If you were wondering how to shade buns and bangs.... I'll show you how to do that too!Basically, you can copy what we painted on the back of the head and paint it on the outer layer as well (plus, if you make sure to turn on "Through" under the mirror tab, it'll copy that on the other side of the head for the bangs)! Then you can practically carve the shapes of the buns and bangs on each of these outer designs since they're basically the same thing-- work harder and smarter!


IMPORTANT NOTE:
Before carving the bangs, i highly recommend drawing out the eyebrows, so you can see where the eyes will be! (also, you can paint an extra layer of hair covering the forehead, so it doesn't show behind the bangs and look messy and weird)
Here are some references you can use for carving the shape of bangs and buns:
Buns:

 \
\Bangs:

Remember that bangs don't have to be this style -- i recommend exploring different styles!
Now that you're done that part, simply just complete the drawings on the sides, bottom and the top of the head so it looks less flat.
And now you can customize the bangs to make it look a little better!
For example, i made this character have a little drip on the middle bangs so it looks a little messier and asymmetrical.

If you'd like your skin to be more fem-presenting, you can add pixels on the bottom of the head to serve as longer bangs, as well as eyelashes! just don't forget to make sure there's pixels on the bottom of the head, matching with the bang ones so it doesn't look flat!

And that's it! you've successfully shaded and painted hair. go you!

You can use the shading style to shade long hair as well! I'll post another blog post on how to do that later. Overall, i hope this tutorial wasn't too confusing and okay to understand, seeing how it's my first tutorial!
hope you all have a wonderful day!
| Tags |
tools/tracking
5692067
6
how-to-paint-and-shade-hair-simple-tutorial-for-beginners

 StormWatcher
 KongPlayz
 Afap
Afap Papa Enny
 The_poor_cat599
 DoraAurora
 r3dleaf
 IcyGuidance
 TheCoderCat
Create an account or sign in to comment.