


514
Introduction
Hi there! My name is JustaFlqmingo, or Flamingo. I'm a 3d modeler and a wannabe Hive staff member, even though I'm way too young. So in the meantime I try to impress people with my models and textures. I joined PMC earlier this year, however, I hope to make a mark on this place as long as I'm here. As of currently, I just walk around making models and skins for fun, while trying to sell some skin commissions here or there.[/b]This tutorial will cover:
- Skin Ideas
- How to use the Planet Minecraft Skin Editor and post skins, including my guide to texturing, lighting, styles of texturing, hue shifting, etc
- Alternatives like blockbench and how they can be useful for PMC
With that out of the way, let's get started!
Contents:
1. How to use the Planet Minecraft Skin Editor and post skins
2. My guide to texturing, including lighting, styles of texturing, hue shifting, etc
3. Texturing and color palettes
1. How to use the Planet Minecraft Skin Editor and post skins
2. My guide to texturing, including lighting, styles of texturing, hue shifting, etc
3. Texturing and color palettes
Part II: PMC 3D and How To Use it
If you're a member of PMC, chances are, you've used their skin editor, PMC 3D. Their editor is simple and easy to learn yet is more advanced than editors such as Skindex and Nova's. In this section, I will cover the basics of how to use it and some tricks that I use myself!Contents:
1. Brushes and Modes
2. Reference Images
3. Uploading Your Skin
Tip I. How to Use the Brushes
PMC has a lot of different brushes, so it may be hard to know which one to use!
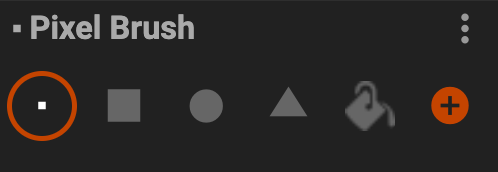
1. The first and most used of these brushes is the Pixel Brush. The pixel brush is exactly what you think it is; a brush that paints singular pixels of one color, nothing much.
2. The square, circle, and triangle brush are also what you might think they are; brushes that draw shapes. You're right there, however there's more to them. If you look down, you'll find settings that can adjust the shape. If you see a little lock that is locked, simply grab either the height or width buttons to increase the size of the shape. If you only want to change the height or width, click the lock to unlock it. Once you have unlocked that, you can increase the height or width without changing the other value.If you didn't understand a word I said, here's a GIF on how to to that
2. The square, circle, and triangle brush are also what you might think they are; brushes that draw shapes. You're right there, however there's more to them. If you look down, you'll find settings that can adjust the shape. If you see a little lock that is locked, simply grab either the height or width buttons to increase the size of the shape. If you only want to change the height or width, click the lock to unlock it. Once you have unlocked that, you can increase the height or width without changing the other value.If you didn't understand a word I said, here's a GIF on how to to that
Last but not least of the brushes, is the paint bucket. If you look, you can see that the paint bucket has a Threshold button. To use it, simply drag the circle left to make it lower and right to make it higher. The threshold determines how far your paint bucket fill will spread. As you turn on the threshold, it treats difference between colors as if they're the same. An example is that red and blue are both recolored, once again with the higher the threshold, the more it combines colors. Lastly we have the "None and Face" option. Choosing "None" with a high threshold will paint all visible parts of the skin the color of the paint bucket. However, if it has a low threshold, it will fill all of a certain color across all visible parts of the skin. The same applies with "Face". When it is a high threshold, it will color a single Face of a single limb the color of your paint bucket. With a low threshold, it will color a cluster of connected colors on a face of one limb. The bigger the connected color cluster, the more it will paint
You might have understood none of that so here's a GIF
Tip II. uploading Your Skins
In the editor, simply hit the "Publish" button in the bottom right corner
to upload a skin not from the editor, go to your homepage, click "my content", click "create new" choose the skinfile and if it's alex or steve, and publish! Don't forget to add a description!
Tip III. Reference Images
To open a reference image, simply hit "file" and "Import reference image"
pretty simple I know
My Guide to Texturing
This will be short because I am writing this with 15 mins left HELP ME
There are different methods of texturing, but my personal style is Hive style. Hive style is a type of outline/pillow shading style from the Hive Bedrock Server.
I can't really explain hive style, but Hive Style 101, my group can! Go check out our stuff trust me you won't regret it.
First of all, we need a color palette. A color palette is exactly what you think it is; a set of colors that an artist will repeatedly use for their skins and models. In order to do that, you need to learn Hue shifting, with Hive style 101 also covering that.
Tip 1. Hue Shifting
For reds, go from red to pink to purple.
For Blues, go from blue to dark blue to purple
Part IV: Blockbench
Blockbench is a 3D modeling software/app that is simple to use and very easy to learn. In this section I will cover all the ways Blockbench can be used for skinners, however I will not cover how to make a skin in Blockbench because this is a PMC tutorial ain't it.
Contents:
1. Showcasing examples of models and poses
2. How to pose and render your skins in Blockbench
3. Texturing and creating color palettes
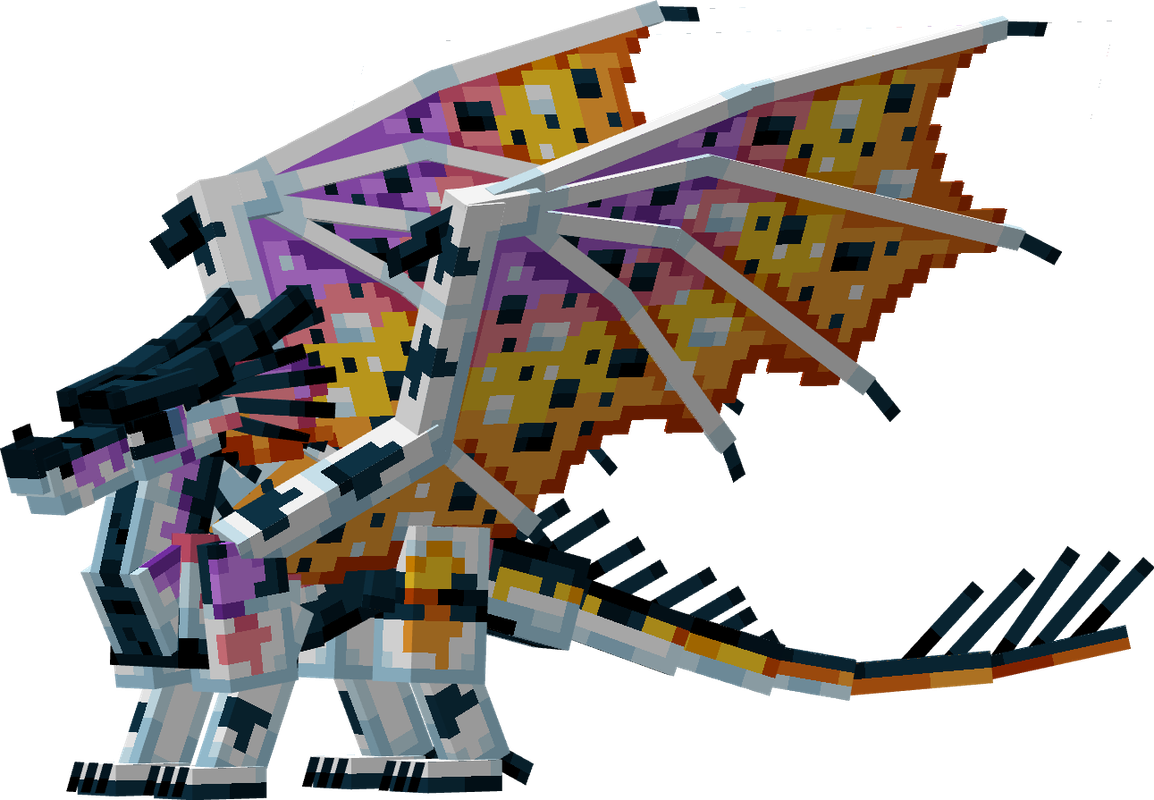
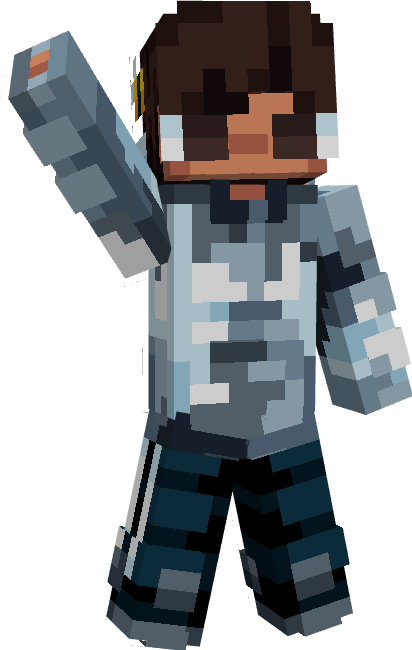
(Model I made for showcasing)
Blockbench can be useful for getting renders and poses of your skin too! The gif below shows how you can do that.
(You can also create skins in Blockbench! simply open the skin just like how I did it above, and texture! Hold right click and move your mouse around to change where the camera is!)
In blockbench, you can also create color palettes! Simply hit "Open Model", click on any png and open it! Then, right click the texture and resize it to how you big you want it, sort of like this:
Once you have your blank png slate, you can create something like this! (blurred for safety)


Final Thoughts
And that wraps up this tutorial! I had a lot of fun writing this little thing, however I literally started writing this on the due date so I'm pretty much screwed. PS: Bruh I just found out that it's a finalist jam meaning I need diamonds to move on... damn I'm so screwed
On a serious note, thank you all for reading me blab on and on about skinning and texturing, have a good day! Or night in my case.
I COULDNT FINISH
*cries*
On a serious note, thank you all for reading me blab on and on about skinning and texturing, have a good day! Or night in my case.
I COULDNT FINISH
*cries*
| Tags |
6062335
6


 TheRedDemon
 DoomStryker
 CrystalRuby
 ScotsMiser
 Tanthin
 Sus_Sus_3-point-0

 Hermitcraft and Friends!
 Panda Gocarts3
 gamerninjabricks
 illager
Create an account or sign in to comment.
PLSSSSSSSS-
I've been practicing it for almost a year haha
totally lol
I'll put it on my mile long list lol
it should be done tm, but adding procrastination i dont even know anymore
and same
i just forget.. my... MY RQS-
AHHH SPEEDRUN-
o7
Its my personal Palette