


1,305
Hey there people.
Recently I've developed a thing for galaxies and space and stuff, and worked out a technique to make the hair on your skins look all space-y and shizz.
I use MCSkin3D by Paril and whtdragon to make my skins but in this tutorial I also used paint tool sai to save time.
Ok, so first off, make a palette. I hardly ever use palettes but I found it simplifies everything a little in this tutorial.
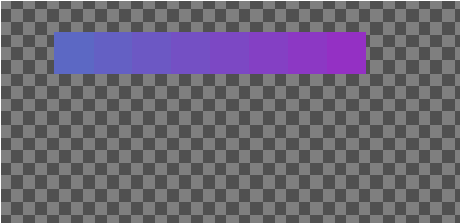
This is the palette I used, 8 colours, nothing too special. I shifted colours from blue to purple but it can work with almost any colour combination:
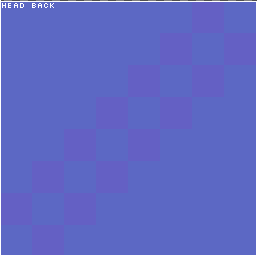
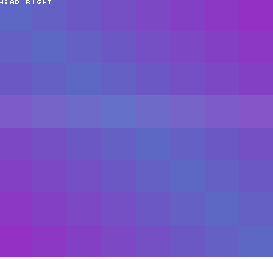
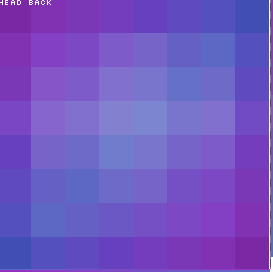
Next step is pretty simple. Just use the lightest colour as a base and work towards opposite corners getting darker, for instance this is what you would do with the second-darkest colour:
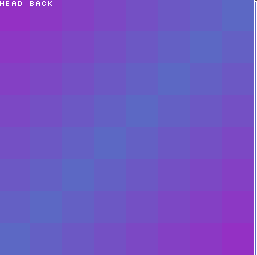
And keep doing that with each colour until you get something like this:
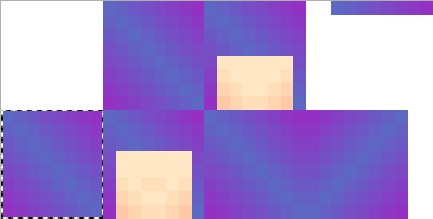
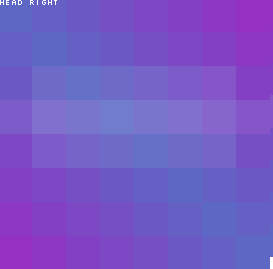
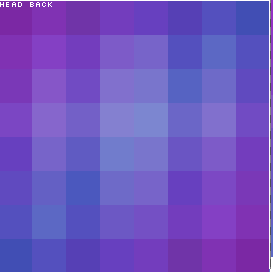
To save time I used paint tool sai to copy+paste that section onto the rest of the head so I didn't have to waste time repeating the pattern over and over again.
So after all of this you should be left with something that looks vaguely like this:
Looks cooler now, huh? Still a little dull in my opinion, so that's where shading comes in.
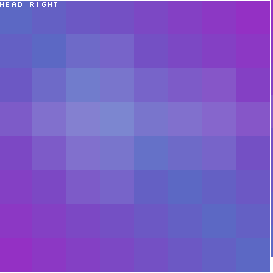
Set your lightener exposure to around 15 and draw a line through the middle-ish of the hair:
After this, draw a 2x4 horizontal rectangle over the top like so:
And then another going vertically, so it looks like an arrow.
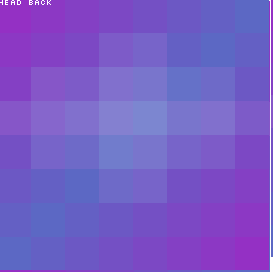
-Note- For the sides of the head, make sure the arrow is pointing in the direction of the face. On the back, top and bottom of the head, have the vertical rectangle go down the middle instead, like so:
Looking a whole lot better already! :3 But.. still not good enough.
Set your darkener to around twenty and draw four overlapping lines around the edge of each 8x8 square like so:
..And then two going down the middle!:
And there you have it, a relatively simple way to make the hair on your skins look fabulous! <3
Psst, guess what, the shading technique also works on plain colours! ;3
I hope you enjoyed this tutorial, as I certainly enjoyed writing it!
| Tags |
tools/tracking
2537654
6
-galaxy-hair-an-easy-guide-


![Omg HD Skin?? [500 Subs special woop] Minecraft Blog](https://static.planetminecraft.com/files/resource_media/screenshot/1347/hd-skin-ooo_6717955_thumb.jpg)


 RoyalQuackOG
 GanderBeam
 ChristalWolf
 Panda_Iceberg
 KEIKYU production
 Darbles13
 Zelvind
 MMGplayz
 Antique
 WYHA-Storm
Create an account or sign in to comment.
Im a girl,13 year old HD skin maker as well, Ive been looking for a new hair pattern to follow and this one looks good :D