


113

Hey!
Want to learn how to make a plugin and show off to your friends? Yes? Well TeamJaval have made an awesome tutorial guide on how you can!
Learn how to :
- Setup workspace and import bukkit API - You're already here!
- Introduction to onEnable() and onDisable() - Click here
- Logging message - Click here
- Creating plugin.yml - Click here
- Creating a command - Click here
- Creating a permission - Click here
- Block manipulation - Click here
- Inventory manipulation - Click here
- Enchantments - Click here
- ItemMeta - Click here
- HashMaps - Click here
- Importing other plugins - Click here
- Deploying your plugin - Click here
Fun tutorials included :
- Setting a player on fire - Click here
- Killing a player - Click here
- Creating a fake explosion - Click here
- Hiding a player from another player - Click here
- Spawn lightening bolt where player is looking - Click here
These tutorials will be split into sections on different blogs. When blogs for all of these tutorials have been done, a link will be displayed.


If you've done modding before, this will seem alot familiar but if you've not then don't worry! You'll be soon posting your plugins to PMC or Bukkit after following this tutorial...
Firstly you will need a few things before actually getting into the coding. I've listed all the downloads below :
Java Eclipse - Click here (Download links to the right of the page)
Bukkit API - Click here
Now, once you've downloaded both files, create a folder on your Desktop called 'Minecraft Plugin Development' or something along those lines e.g (MC Plugin, Plugin Coding, MyPlugins). Next, drag the Bukkit API you recently downloaded over to the folder and leave in there, this will come in handy soon.
Now that the Bukkit API is in your folder you just created you want to extract Java Eclipse to a folder and run eclipse.exe. Once it loads, a window should popup looking like this :
Spoiler
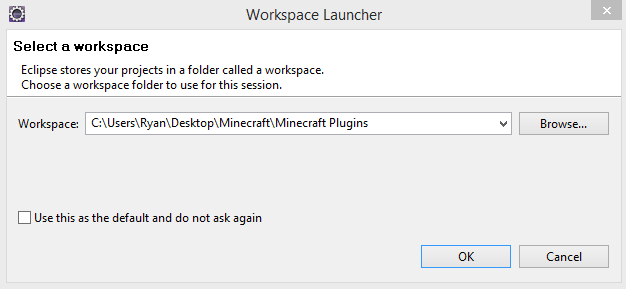
Click the button 'browse' and select your folder you created with your Bukkit API inside then hit 'OK'.
Let Eclipse build the workspace and load. Once its loaded goto File > New > Java Project. Then, a window should popup looking like this :
Spoiler
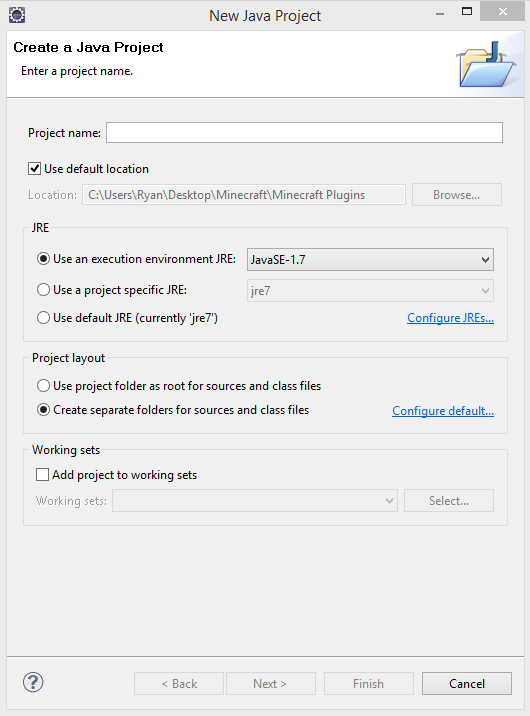
Then, enter a Project name, for example 'FirstPlugin' or 'MyPlugin' whatever you want and click the 'Finish' button at the bottom.
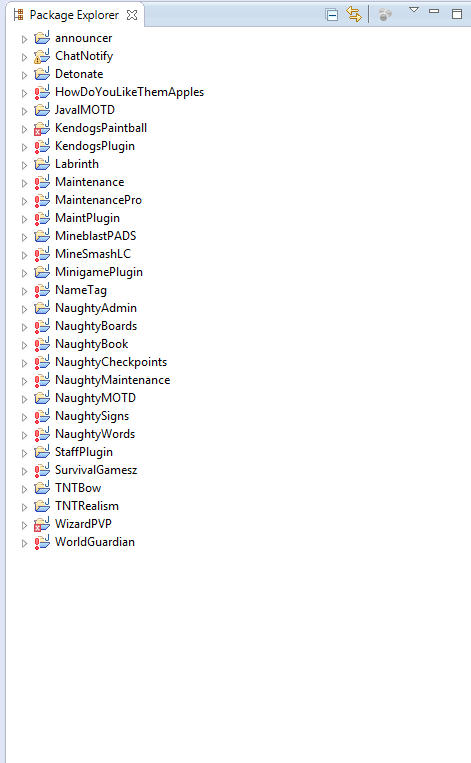
Once it closes you should see a file popup in the Package explorer like this :
Spoiler
Next, click the little arrow on the left of your file and a dropdown should appear, then right click on src and click New > Package.
Doing so will open another window. Should look like this :
Spoiler
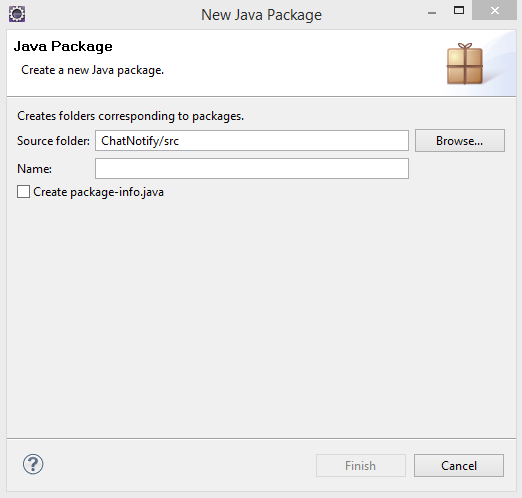
In the name box, add your package name for e.g (me.kendoghd.myplugin or me.teamjaval.myplugin) If you need any help the PM or message us on here via PMC, we will sure answer any questions you have.
Then, click finish. After that right click on the recent package you just created to the left and click New > Class. Again, a window should popup looking like this :
Spoiler
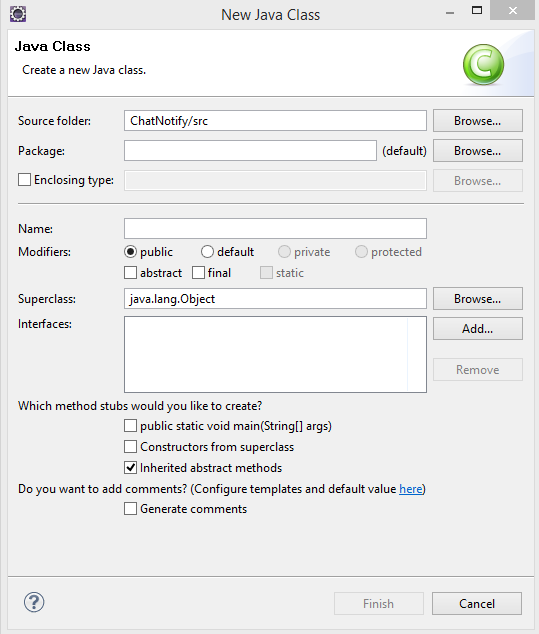
Finally enter a class name, for example 'MyPlugin' or 'FirstPlugin'. Then click finish. Right click your file name and click Properties. A window should popup looking like this :
Spoiler
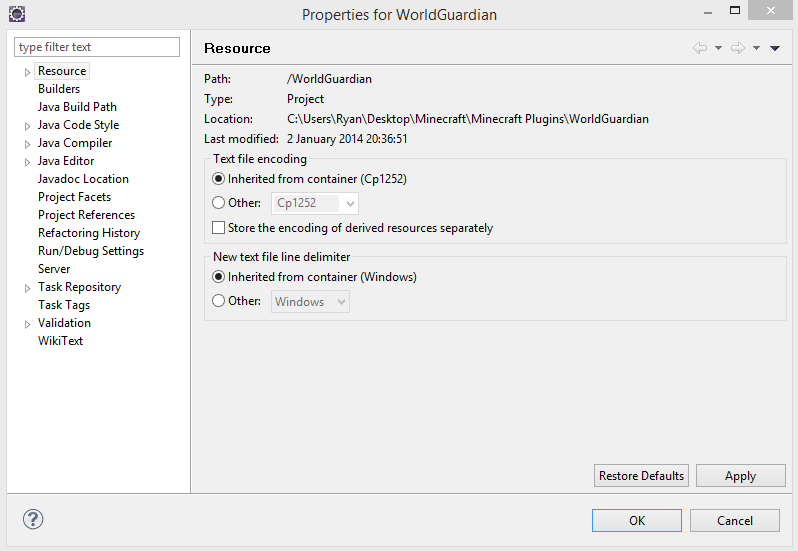
Once its loaded, click Java Build Path and click 'Add external Jar' to the right hand side. Select your Bukkit API and click 'OK'...
That is it for this tutorial on Setting up, next you will be getting head deep with actual coding so get ready for that! I hope you've enjoyed this tutorial introduction and hope that alot of you will use this to create awesome plugins.
To create these tutorials for you is quite a challenge, If
you'd like to see more tutorials and more sections covered then please
donate to our team as generously as you can. Every bit of it helps and
supports us even more.

Donators will be able to get private lessons from myself or anyone else from TeamJaval. Including their name posted on numerous blogs as a big thank you.

| Tags |
tools/tracking
2827554
6
how-to-make-a-minecraft-plugin-teamjavals-guide


 MaximusPrime23
 Copterman2596
 Aelle
Aelle oakar258
 hotsuop
 CrystalRuby
 Olimon7661
 sniffercraft34
 MistFaller
 glitched_assasin


Create an account or sign in to comment.
btw, I am always looking for tutorials on advanced stuff. Most people have tuts on the basics. It would be cool if you made a seperate post just on advanced tutorials! :D
-gegy1000