
• 10/28/14 7:52 pm
- 385 views • 0 today
- save_alt 42 downloads
- Progress
- 100% complete

1
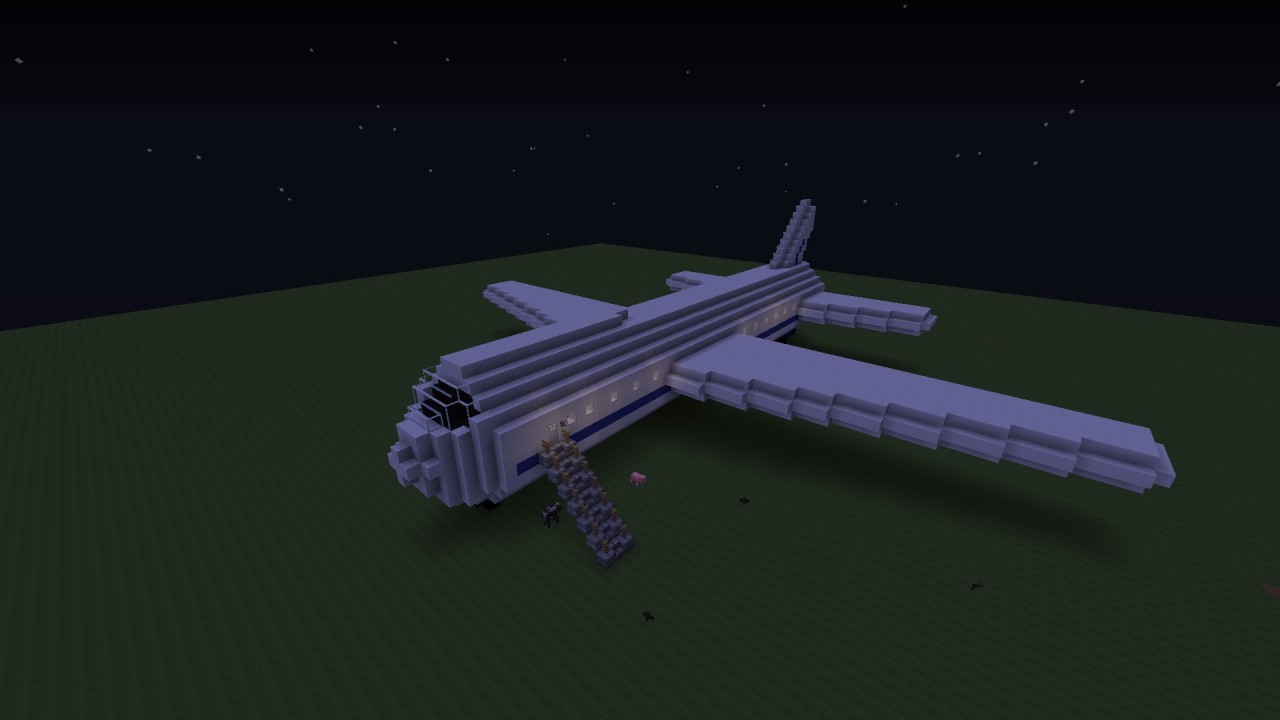
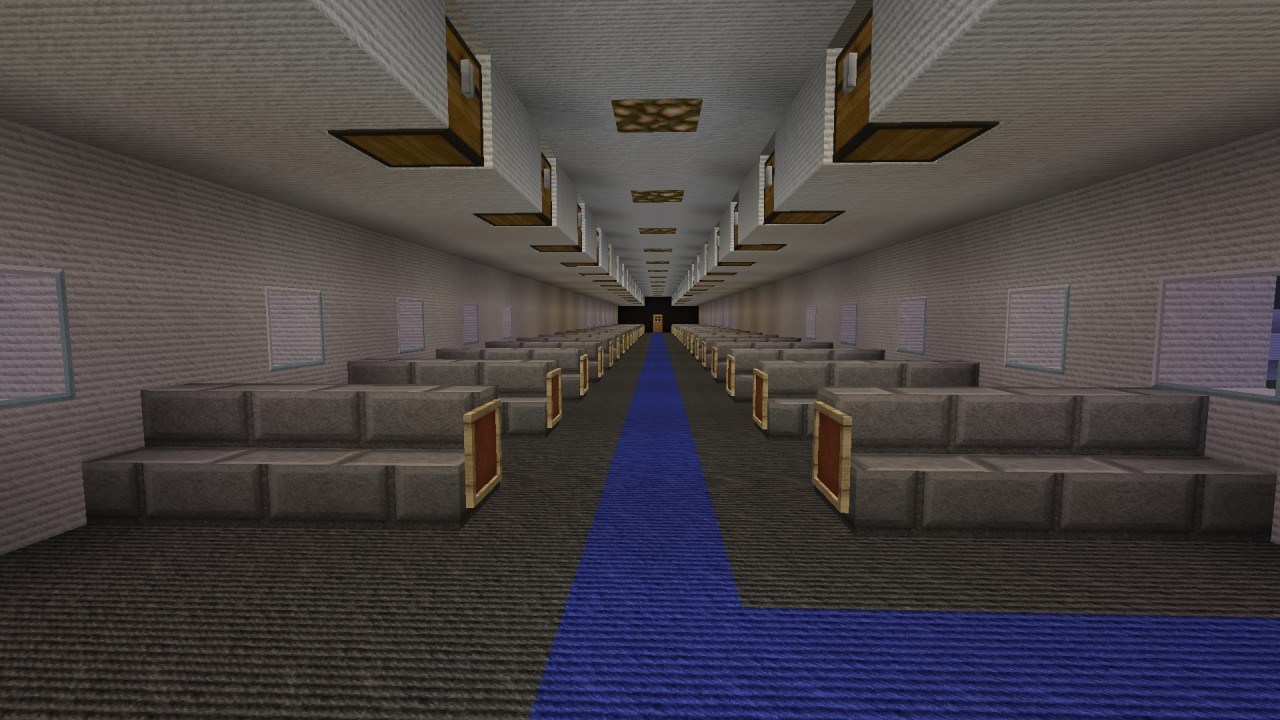
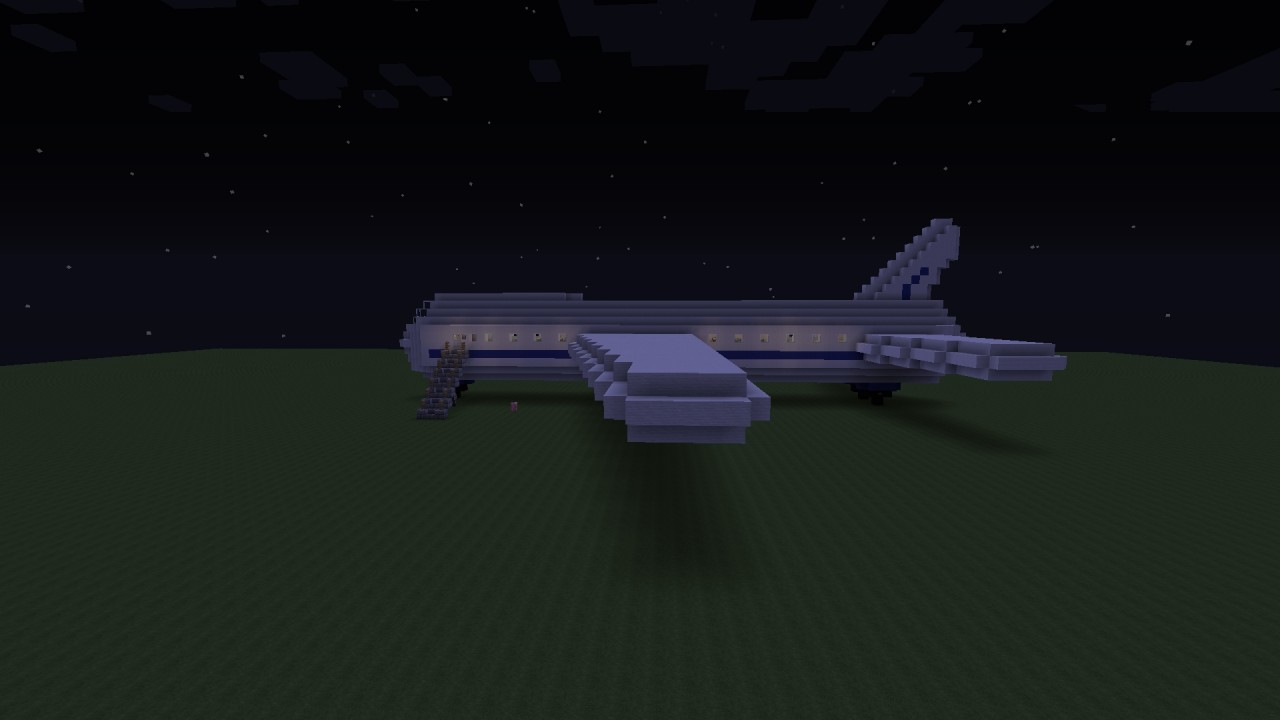
Thank you for checking out my simple airplane! Let me know how I did.
Please give it a Diamond if you think I did well! :D
ps. I know the nose looks horrible but whatever :P
Please give it a Diamond if you think I did well! :D
ps. I know the nose looks horrible but whatever :P
More like this

 rauzin maps
 doodledude
 Evan_1998
 HaooyMaker
 xgio
xgio3126210
2
 Xyoblivion






 DreamWanderer
 CraftyFoxe
 UserEthan090

 _MALTA_
Have something to say?
The next step is to google it and get its wikipedia page along with all the specifications, its measurments are the most important. Right after you wanna go get some reference pictures. Obviously, a google search is once again required though dont only get shots of the actual aircraft, search for blueprints of it. You should get side, top/bottom and front/back view pictures of it. Be sure to pick one where all those are scaled to each other, it makes the job easier. Now for some extra info, check some videos on youtube about the aircrafts like documentaries, live fire, montage, in cockpit videos, walkarounds, flight operations, etc. I just feel like it gets me in the mood and give me little bits of info i need because always remember that details are what makes a good build.
Now that the research part is done, the editing part is up next. Were not building it yet as we havent planned anything yet. Open photoshop (or any picture editing software, i just find photoshop is the best) and remember those blueprints i mentionned earlier? Well, load those in. The next logical step is to decide at which scale you want your aircraft to be.
Scale is the proportion of your build compared to real life, when you say 1:1 it means its 1/1, in other words, real size. If you choose to have it at 2:1, then its 2/1=2 so twice the size of the real one and 1:2 1/2=0.5 then half the size in that case.
For now well keep a 1:1 scale. You then wanna isolate all of your aircraft sides in their very own layers (if your editing software allows it). Remember now to leave any white around it, its very important to get the scale right, you wanna cut right at the edges of the drawing face. Once you have those separated, you have to resize them. A pixel, obviously, means one block and one block equals one meter. In other words, you wanna make your image as long as the aircraft following the logic 1 pixel = 1 meter. Check the dimensions for each axis and resize the right pictures so they all fit together. Now you have a template to make your aircraft. You can save those as images of their own but i prefer keeping them in photoshop since it allows a bigger zoom.
Once in minecraft, you can start with the aircraft. I recommend either making an empty square (only the ridges are solid) of the aircraft dimensions and then making the aircraft inside using our templates or intersecting all the shapes you created to extrude the plane out of it. Both ways work as i tested both personnally. Of course its gonna look very blocky at first but once you start shaping it with slabs and stairs it gets better. With larger aircrafts, youre basically making the skeleton of the plane and the adding the details. When done with the main fuselage, you can start adding details, colors and whatever fits the aicraft. Again, i recommend a good research and accuracy for realism.
As for making custom textures for vanilla minecraft like my C-17 has, its once again a good use of photoshop along with a USAF font (custom text) saved as a picture and then converted to a schematic using spritecraft. However, since i find it looks bad and isnt allowed if used, i modify completly the schematic once imported in the map through MCEdit so the textures look flat and clean, not like spritecraft renders them. Before placing it in your map though you have to find where a map ends/starts and place a random block so you remember once back in MCEdit. That way, the image which is a 128x128 square pattern at a 1 block=1 pixel per map, is centered in the map and doesnt look off. The last step is to pick and item frame, place it on the desired block and stick the map on it. Since a map on a wall takes an entire block, you can create massive images like i did.
Lastly, about how i made those "magic" animations of mine (custom design, inventions of mine and never seens it anywhere else before), its just a matter of using the new /clone command to copy a certain area over. However, that specific area is filled with a frame of the animations and so is the next one but slightly different. Think about is as a stop motion movie. Frame by frame an animation is created.
Thats pretty much it overall, if you have any more questions be sure to ask, ill be more than happy to reply :)
Also, you kinda gave me an idea, i might make a blog on aircraft building since mine seem quite popular :D