


- 2,027 views, 2 today

105

Always wanted to code? Always wanted them simple plugins that make your server unique and give it the custom look?
Over the next few months i will be creating easy to follow totorials on the development of a bukkit plugin. You will be able to message me for help. Comment ideas and suggestions and learn how to create your own bukkit/spigot plugin for your own custom server!
Part two is live: Click here (After reading below first!)

As most would know, you need to download some software to start developing your own software. Not all people prefer it but i will be using Eclipse Classic for my tutorials.
So the forst step is to hop over to their website and download the software. (Click To Download)
I would reccomend you install and run the program before continuing.
Secondaly you need to be able to code them flashy bukkit plugins! To do this you need to downlaod the bukkit API. Bukkit just allowed external downloads so here is the 1.7.10 API (Click To Download)
And that's it! You now have everything you need to create a bukkit plugin!
I would also reccomend making a plugin test server. Plugins are not always perfect and you will make mistakes. Don't try your plugin in a running public server!
Sadly i cant link you to a download of the bukkit server due to a DMCA takedown request. You can ask around if you dont have the official version. You may be linked to an ALT download. (Not reccomended)

When you download Eclipse you will be greeted by a rather empty screen. As i have installed it before i cant show you this. However you know you have never made anything so something will be there.
Firstly you need to create a 'Project'. This will be the main folder of the plugin and will store everything.
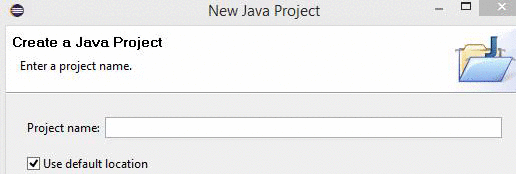
To do this click File>New>JavaProject.
When naming the project it need to be related to the plugin. In this case we will make a custom help menu.
Then click finish and you are done!

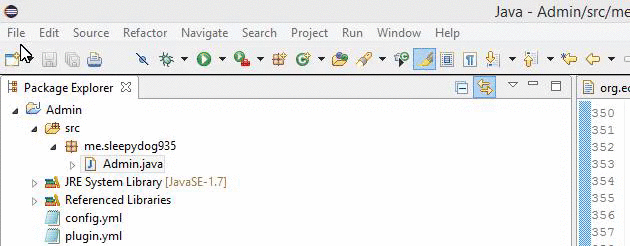
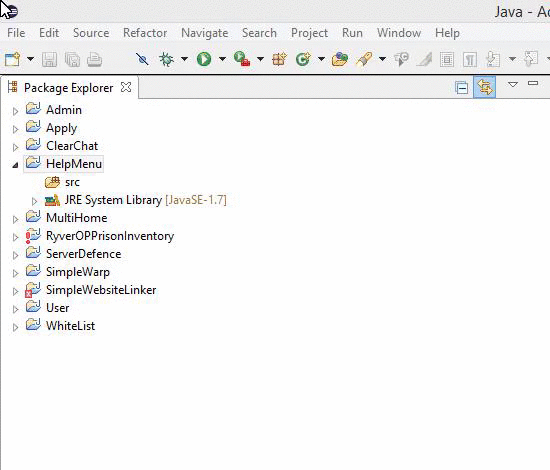
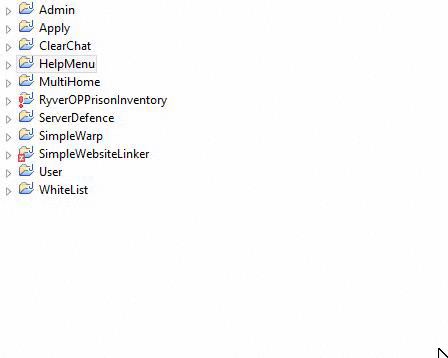
You project will then be listed at the side of the screen.


Packages are the first component of the plugin.
To create a package click on the project you ject created and goto. File>New>Package.
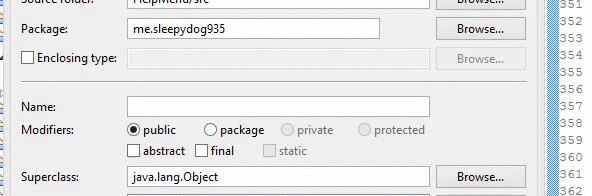
When you name the package you need to follow a strict format. The standerd for bukkit plugins is:
me.<Your Minecraft Name>
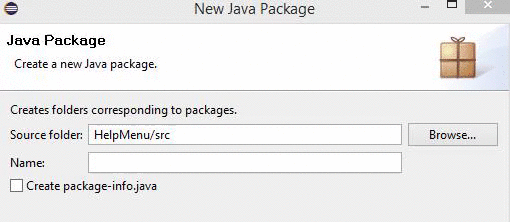
When you have done this simply click Finish.

After this an 'Empty' package will appear.

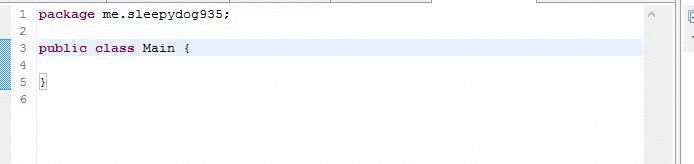
Classes are the final storage place of the plugin. The class is the place that stored the code. Essentialy the most inportant bit. To create the class you click on the package and goto File>New>Class.
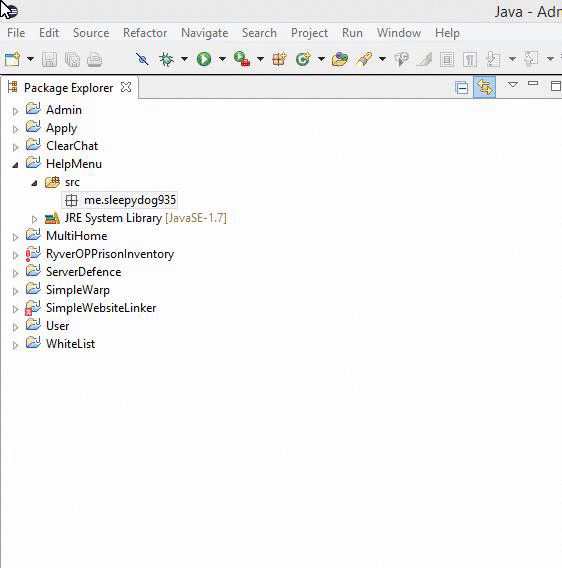
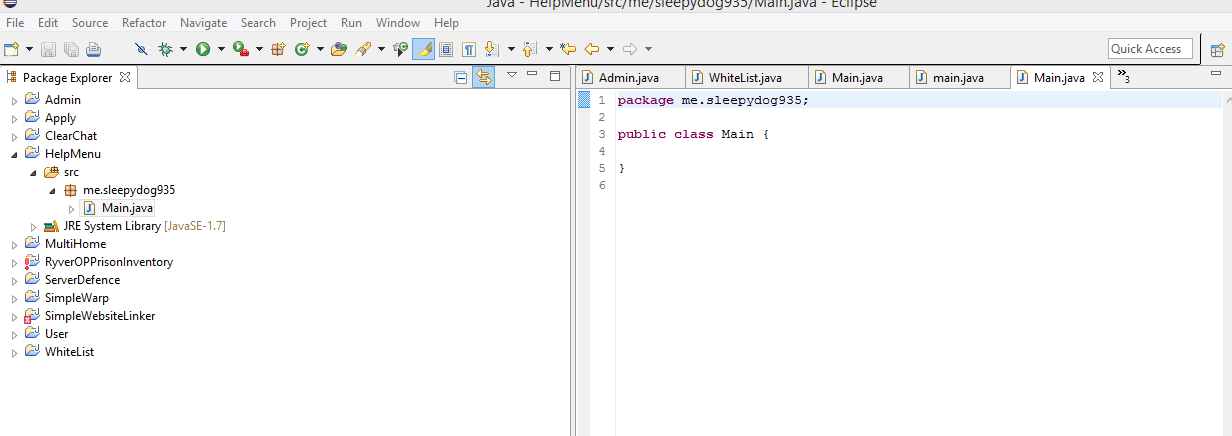
The name for the class is less important. The name must start with a capital letter. It will usaly be other the name of the plugin or in this case, you simply call it 'Main'. This is your main class.
Again simply click finish.

You will see the main class appear in the package and a nice bit of starter code for you.

The build path of a plugin is basicly the main code of bukkit. You use the code to tell the API to tell the server to do something. It also works the other way around. The server calls the API which tells the plugin some information, you can then act apon that data. Anyway keeping it simple, the API is the link between the plugin and the server.
To start you need to configure the build path.
Right click on the project and goto Build_Path>Configure_Build_Path

This is where that bukkit API you downloaded comes in.
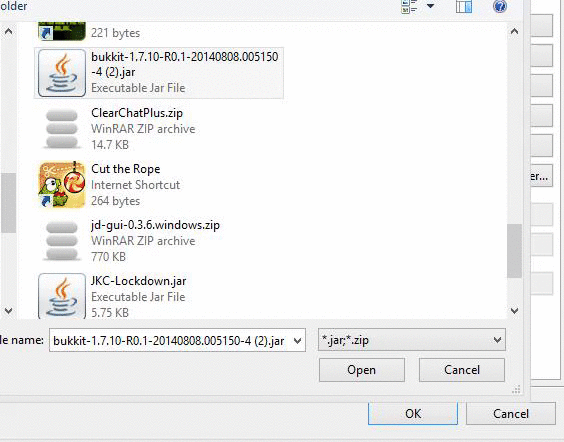
when the window comes up, click 'Add external jars' and find the API you downloaded.
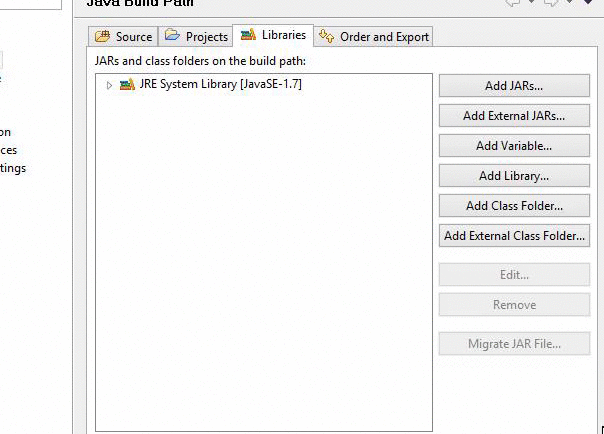
When you find it select the jar and click open. (This will not run the jar)
When simply click 'Okay' and the build path is complete!


In this tutorial i am only going to show yoo to get the basics of the plugin. As this is getting really long i will release #2 tomorow (Not Uploaded) showing you how to get a basic plugin to work ingame. Before you leave here is some essential code you will need for the next tutorial.
Firstly add 'extends JavaPlugin' between the words 'Main' and the bracket '{' this tells the API it is a plugin.
Then you need to import 'JavaPlugin'
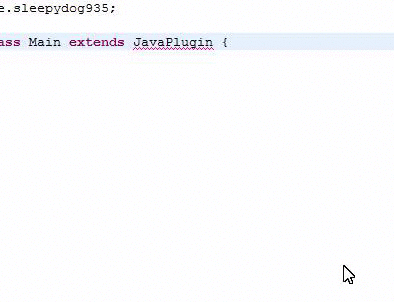
This fixes the error as the plugin now knows what JavaPlugin is/means.
Thankyou for reading, #2 will be out 11/12/2014. Check back soon!

| Part Two | <<Click here!
| Tags |
2 Update Logs
Part Two Is Out : by SleepyDog 11/12/2014 11:49:55 amNov 12th, 2014
LOAD MORE LOGS
tools/tracking
3053172
6
learn-to-code-bukkit-plugins-getting-set-up-1


 Joopeli
 john1san
 SpellmakerTheHybrid
 AverageHumanBeing
 Burgas11
 Panda_Tyger
 Panda_Wolfe
 KongPlayz

 MegaMinerDL
 ItsAlexHimself_
Create an account or sign in to comment.
console.log("Hello World!");
If you would like faster help go to forums.bukkit.org. They will help you, this has got you an understanding of how to create a simple command and reply plugin, now you can work towards better things.
For permissions: if(cmd.getName().equalsIgnoreCase("website") && sender.hasPermission("website.test")) {
sender.sendMessage("The website is www.example.com");
}