

• 3/3/25 12:14 pm
- 658 views • 0 today
- 22
- 16
- 10
386
Hello! This is how to make a basic skin render in Mine-Imator!
No use wasting time, let's get to it :D
(Assuming you already have the latest version of Mine-Imator installed)
First open the workbench

then create a character (Any skin or mob)

now open workbench again

and click the camera

then create

Position it infront of your character
(You can add fancy effects if you click the camera, then a 'menu' type thing will apear on the right side of your screen)

Now click one of the limbs of your character


move them around until you get to something you like

Now if you want scenery, (You make the scenery before the character usually) open workbench

click scenery and Import world

A new window will open that will look like this, you now need to choose a world

Like so

For now just pick the 'small' option. The selected area will be imported.

click import and boom

Move your character to the desired place

As well as the camera

We could end here, but I'm fancy. Go into workbench and click 'Light source'

just do the standard Point Light and click create.

Position it in a way that it lights up the front of your character

now click the render button on the top of the screen

choose 'Render Image'

and save

and save... Again

And boom!
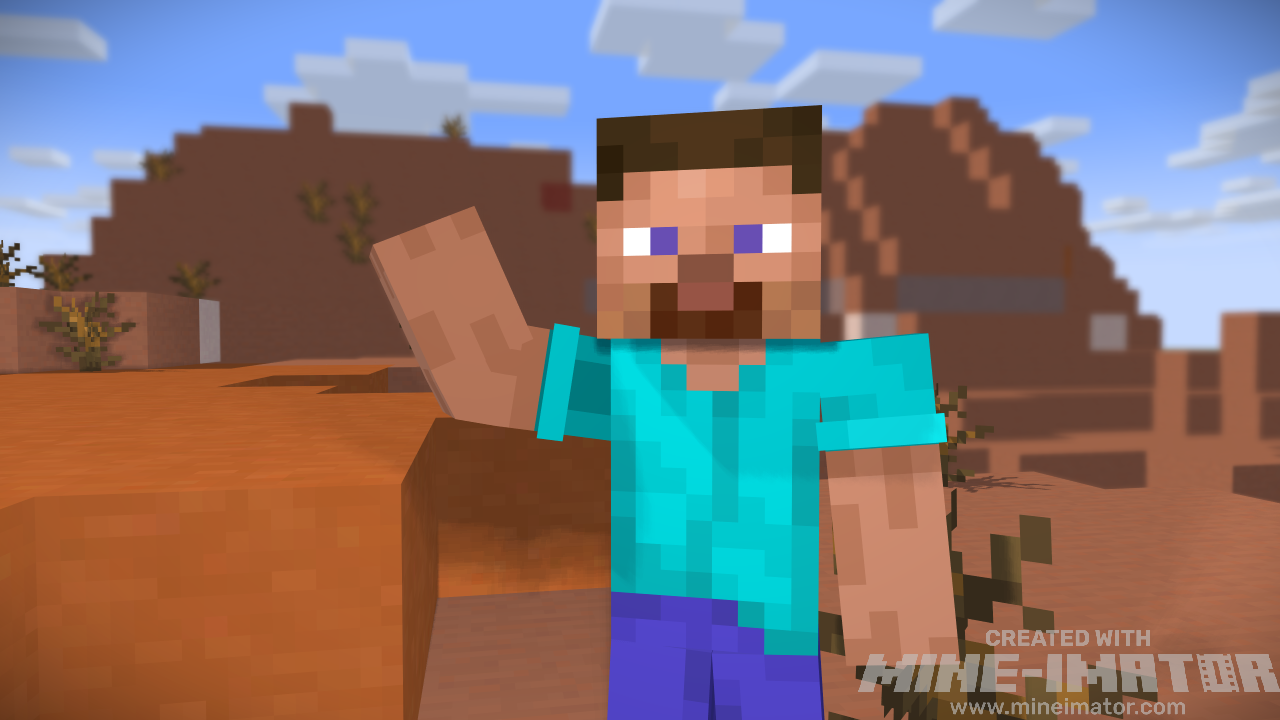
A very basic skin render!
DoreoTheOreo
No use wasting time, let's get to it :D
(Assuming you already have the latest version of Mine-Imator installed)
First open the workbench
then create a character (Any skin or mob)
now open workbench again
and click the camera
then create
Position it infront of your character
(You can add fancy effects if you click the camera, then a 'menu' type thing will apear on the right side of your screen)
Now click one of the limbs of your character
move them around until you get to something you like
Now if you want scenery, (You make the scenery before the character usually) open workbench
click scenery and Import world
A new window will open that will look like this, you now need to choose a world
Like so
For now just pick the 'small' option. The selected area will be imported.
click import and boom
Move your character to the desired place
As well as the camera
We could end here, but I'm fancy. Go into workbench and click 'Light source'
just do the standard Point Light and click create.
Position it in a way that it lights up the front of your character
now click the render button on the top of the screen
choose 'Render Image'
and save
and save... Again
And boom!
A very basic skin render!
DoreoTheOreo
More like this


 How To Make Someone Wear Armor (Mine-Imator)Tutorial Blog
 Sophisticated_Trashcan
•3/8/25 11:13
1.5k 3x 12516
Sophisticated_Trashcan
•3/8/25 11:13
1.5k 3x 12516 How to make PEAK Minecraft Renders in Mine-imatorTutorial Blog
 PlanetZedna
•8/21/26 4:54
120 8x 11210
PlanetZedna
•8/21/26 4:54
120 8x 11210
 Kevaasaurus
 Gamerlight
6551841
6
![Let Me Stay. [A Free Verse Poem] Minecraft Blog](https://static.planetminecraft.com/images/layout/missing_image.png)





 uzvarua
 KaaXdev
Have something to say?
If you have any questions just ask me!