
• 10/7/17 6:27 pm
- 290 views • 0 today
- 1
- 2
- 2

3
1. Download Eclipse (http://www.eclipse.org/downloads/eclipse-packages/) <And java if you do not already got it>
2. Open Eclipse
3. Right click under the project explorer and hover new.
4. Press Project, Find Java. And then press new Java project
5. Right click the src in your project and hover new again and press Package. (A normal package name is me.yourname.projecctname)
6. Then crate a class the same way but instead of pressing package choose class. (Call it what ever you want) <In this example im calling it TestPlugin>
7. Right click your project folder and hover "Build path" and then open buld path.
Inside there press Libraries then Add Library. Then navigate to your spigot.jar file.
and press Apply and close
8.Go into 'TestPlugin' and type this
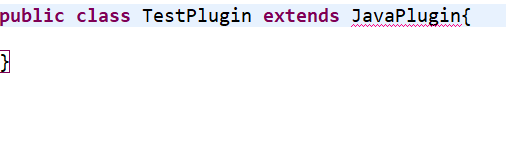
Then hover 'JavaPlugin' and click the import optione.
9.Add this
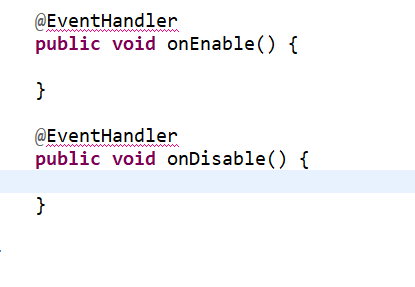
after this right click the project folder then hover new and press file. The file must be named plugin.yml!
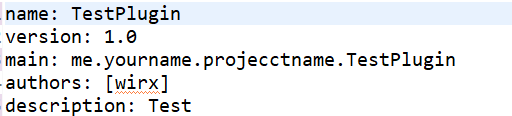
Then type this inside of the plugin.yml
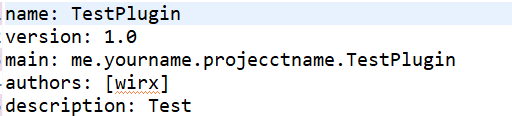
Then just export it and add it to your server this is usless since it wont do anything yet in the next tutorial i will learn you how to add a command :)
2. Open Eclipse
3. Right click under the project explorer and hover new.
4. Press Project, Find Java. And then press new Java project
5. Right click the src in your project and hover new again and press Package. (A normal package name is me.yourname.projecctname)
6. Then crate a class the same way but instead of pressing package choose class. (Call it what ever you want) <In this example im calling it TestPlugin>
7. Right click your project folder and hover "Build path" and then open buld path.
Inside there press Libraries then Add Library. Then navigate to your spigot.jar file.
and press Apply and close
8.Go into 'TestPlugin' and type this
Then hover 'JavaPlugin' and click the import optione.
9.Add this
after this right click the project folder then hover new and press file. The file must be named plugin.yml!
Then type this inside of the plugin.yml
Then just export it and add it to your server this is usless since it wont do anything yet in the next tutorial i will learn you how to add a command :)
More like this

 How to make a minecraft pluginTutorial Blog
 Gruffnuts123
11/5/12 3:43
• posted 10/26/12 8:25
1.2k 7x 185
Gruffnuts123
11/5/12 3:43
• posted 10/26/12 8:25
1.2k 7x 185![Plugin Making Tutorial Basics [Part 1] Minecraft Blog](https://static.planetminecraft.com/files/resource_media/screenshot/1342/btw001_6558864_thumb.jpg)
![Plugin Making Tutorial [Part 2] Minecraft Blog](https://static.planetminecraft.com/files/resource_media/screenshot/1342/btw001_6566543_thumb.jpg)
-
 Blu3Tofu
 Ghost001
 ragingummybear
4029453
6

 raupauk
 lzdzd
lzdzd

 greengamerLLL

 MystSpaTimeTrav
 Sidga420
 LostInMC
 geosivridis
 uzvarua
Have something to say?