


2,971
Hey it's Fox! :D I'm going to teach you a simple,easy way to make render images for thumbnails or whatever you need it for. This tutorial is for Windows, Mac ,and even Linux. Enjoy.
STEP ONE: Download
You have to download a program called Chunky. It works on both Windows, Mac and Linux
Download Page: http://chunky.llbit.se/download.html
STEP TWO: Preparation
Go open up Minecraft and to the place you want to be rendered. Stand where you want the picture to be taken from. Then close Minecraft.

STEP THREE:
Once you download Chunky, open it up and select the world you want to render
After that you will see your world but from directly above, kinda like a map

Next you will click one by one all the chunks you want to be in the pic. They will all appear in red.

STEP FIVE:
Now once you done step three right click the red boxes and a thing should pop saying "Enter name for the new 3D scene. It doesn't really matter what you name it, in my case I'll just keep the name thats already there. Press ok
STEP SIX: Settings
Well now you have something called Render Controls pop up. It has a lot of stuff that you probably don't know what does what. I recommend you change your canvas width and height to be 1024by640 and make it default so whenever you open this up to make it that automatically.

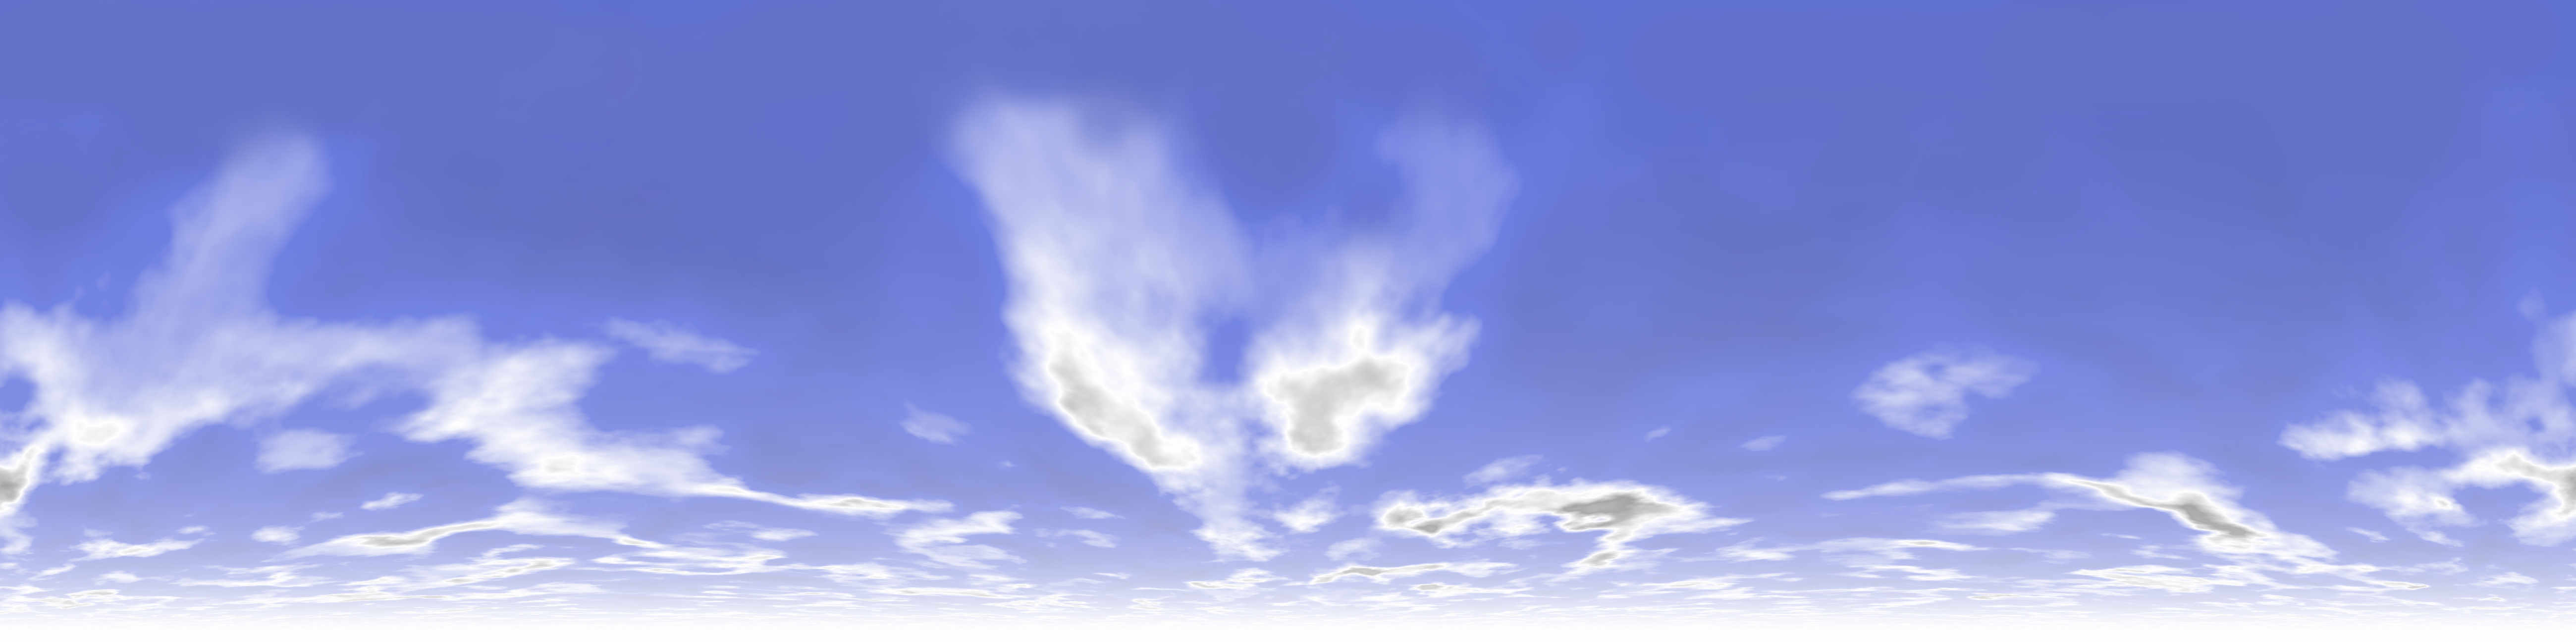
The bigger image, the better. Also what I do is I go into the sky tab and I load up a Skymap that I found off of google. The skymap is an image that you can put in the pic that covers the sky.
I got mine here: www.f-lohmueller.de/pov_tut/backgrnd/im/sky_map_p_04_5200x1300.jpg
Next we go to the Camera tab, you would click the Camera to player button and it would show on another window that popped up before with the Render Controls. It will look like where you stopped in the map ingame. You can adjust the camera position by using the a, w, s, d, and you mouse.
You can even change the sun color in the lightning tab. What this means is that whatever the sun is going on its going to be that color. For example I click yellow then whatever is in the picture gets a yellow tinge it. As shown in the Thumbnail for this Tutorial.
Also I would recommend disabling light emiters if you have torches because it makes the render better and faster.
STEP SEVEN: Taking the picture
You might be wondering how you take the render. You go in the Render Controls to the bottom of it. Click the START button next to Render: It should take like 10-25 minutes for a good picture, it also depends on how fast your computer is.
STEP EIGHT:
You don't necessarily have to wait for the rendering to complete 100%, you could just stop it at 80%. But if you do the picture comes out a teeny bit better. Once you are "Okay I like this render now how do I get this as a picture file?" you click "Save Current Frame". A box should appear on where the file will be saved. Also if you want to get an even better image, change the SPP Target to a higher range

If you want you can even go to Gimp(an image editing software) you can add some effects to it like a glare or whatever you think is right for the picture. So there you have it you now know how to make amazing rendered thumbnail pictures.
This tutorial was requested by PMC user STEALTHy. Please diamond and favorite this blog post, it really helps! Thanks for visiting :) Subscribe for possibly more tutorials like this.
Special thanks to nrub for creating Chunky.v
STEP ONE: Download
You have to download a program called Chunky. It works on both Windows, Mac and Linux
Download Page: http://chunky.llbit.se/download.html
STEP TWO: Preparation
Go open up Minecraft and to the place you want to be rendered. Stand where you want the picture to be taken from. Then close Minecraft.
STEP THREE:
Once you download Chunky, open it up and select the world you want to render
After that you will see your world but from directly above, kinda like a map
Next you will click one by one all the chunks you want to be in the pic. They will all appear in red.
STEP FIVE:
Now once you done step three right click the red boxes and a thing should pop saying "Enter name for the new 3D scene. It doesn't really matter what you name it, in my case I'll just keep the name thats already there. Press ok
STEP SIX: Settings
Well now you have something called Render Controls pop up. It has a lot of stuff that you probably don't know what does what. I recommend you change your canvas width and height to be 1024by640 and make it default so whenever you open this up to make it that automatically.
The bigger image, the better. Also what I do is I go into the sky tab and I load up a Skymap that I found off of google. The skymap is an image that you can put in the pic that covers the sky.
I got mine here: www.f-lohmueller.de/pov_tut/backgrnd/im/sky_map_p_04_5200x1300.jpg
Next we go to the Camera tab, you would click the Camera to player button and it would show on another window that popped up before with the Render Controls. It will look like where you stopped in the map ingame. You can adjust the camera position by using the a, w, s, d, and you mouse.
You can even change the sun color in the lightning tab. What this means is that whatever the sun is going on its going to be that color. For example I click yellow then whatever is in the picture gets a yellow tinge it. As shown in the Thumbnail for this Tutorial.
Also I would recommend disabling light emiters if you have torches because it makes the render better and faster.
STEP SEVEN: Taking the picture
You might be wondering how you take the render. You go in the Render Controls to the bottom of it. Click the START button next to Render: It should take like 10-25 minutes for a good picture, it also depends on how fast your computer is.
STEP EIGHT:
You don't necessarily have to wait for the rendering to complete 100%, you could just stop it at 80%. But if you do the picture comes out a teeny bit better. Once you are "Okay I like this render now how do I get this as a picture file?" you click "Save Current Frame". A box should appear on where the file will be saved. Also if you want to get an even better image, change the SPP Target to a higher range
If you want you can even go to Gimp(an image editing software) you can add some effects to it like a glare or whatever you think is right for the picture. So there you have it you now know how to make amazing rendered thumbnail pictures.
This tutorial was requested by PMC user STEALTHy. Please diamond and favorite this blog post, it really helps! Thanks for visiting :) Subscribe for possibly more tutorials like this.
Special thanks to nrub for creating Chunky.v
| Tags |
tools/tracking
1624079
6
how-to-make-amazing-rendered-thumbnail-pics-tutorial


 Rotisserie
 MistFaller
 BlissyMissy
 Sophisticated_Trashcan
 PixelCraft__YT
 PrincessLuna16
 GalaxyCat24
 Hut
Hut

 Copterman2596
 illystray

 pathisgamer
Create an account or sign in to comment.
Q: Why do I get random dots in the render?
A: Torches and other small light sources cause a very random illumination and it takes many samples per pixel to render such light smoothly. For more information see Path Tracing. One workaround to this problem is just to disable "emitters" in the Lighting tab in the Render Controls dialog.