Echoing what bianagirl was saying, keeping in mind lighting and knowing where to place shadows definitely helps a lot. To keep it simple, when you're making a skin try to think of the shading in three parts in this order:
1. Base
2. Shadows
3. Highlights
Making skins doesn't need to be overly complicated, better yet, keeping it simple I think is best when starting out and it isn't even a bad thing to continue doing once you get better. There are plenty of nice looking skins with literally only a handful of colors. Knowing proper placements goes a long way.
So let's take your skin as an example. Places such as underneath the scarf and bangs of the hair you would place shadows a pixel beneath.
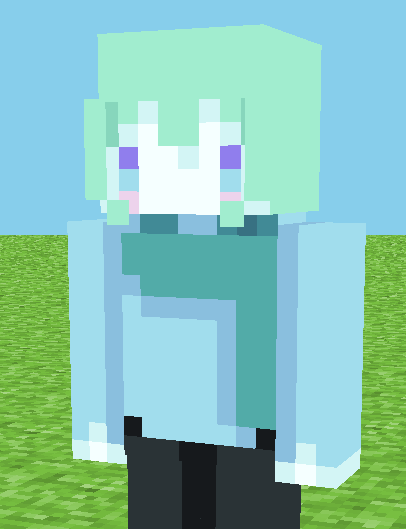
This is just a very rough idea of what I'm talking about to help you visualize it. This would be a good starting point and then further add dots of shadows (darker) and highlights (lighter/tints) wherever you see fit. At the end of the day it's a 64x64 model you have to work with so there isn't much you can do in terms of a completely "realistic" Minecraft skin in this format. I would say a lot of people, and myself included, place things arbitrarily in spots that look nice. You won't know what works if you don't try it.
You could also do what Pup_ said. Find a skin you like and try to copy it as a way of "studying," but I think it just might be best to do things through trial and error.
Also just as a general rule of thumb, I would stay away from the noise tool in McSkin3D since I saw you're also using that program.
I think what I wrote is kinda confusing lol so if you or anyone else needs me to explain it more I'd be happy to.