


205
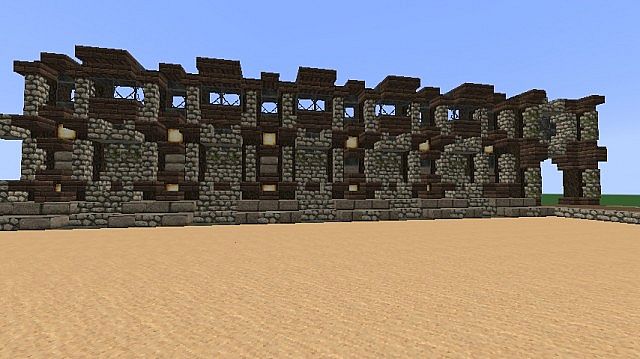
(Image above is using Atherys Ascended)
So, yep, I am here today to show you guys how to make a resource pack. Just for the record, this is not one of those sucky tutorials on this where it doesn't work. I just havn't posted any resource packs, because I don't have the time. (I am working on a few secret projects :3) So, enough talk, shall we get started? No? Ok.
To bad, I am starting without you!
Getting the files
So, first you will want to make a folder, doesn't matter where, but I usually put mine in the resource packs folder, just so it doesn't easily get lost (I don't have many installed :P)
Next, you click start, search "run" open that, type in "%AppData% and click .minecraft folder. So now you are at the location of the files, time to fish 'em out!
Files needed:
Putting the texturepack together
Ok, so now you have the files. Put all of them but the second assets folder (the one in .minecraft) into you're folder. You now want to copy the CONTENTS of assets2 (that's what I am refering to the .mineraft one now) to the other assets folder, but don't dump them in there yet! You dump it in the minecraft folder which is in assets1. Now just edit them all you want! "WAIT, WHATS THE PACK.MCMETA???!?!?!" Don't worry Bob3, its just the pack description. You can open it with notepad, (Just do open with, notepad)
Some tips
If you want to do a 32x32 texturepack, you just make the size of everything 32px biger. NOTE: DO NOT, NOT NOT NOT NOT!!!! USE MSPAINT!!!!!!!!!! JUST NO.
I hope this helped you. If it did not, please let me know which part you were confused about, or which part didn't work!
So, yep, I am here today to show you guys how to make a resource pack. Just for the record, this is not one of those sucky tutorials on this where it doesn't work. I just havn't posted any resource packs, because I don't have the time. (I am working on a few secret projects :3) So, enough talk, shall we get started? No? Ok.
To bad, I am starting without you!
Getting the files
So, first you will want to make a folder, doesn't matter where, but I usually put mine in the resource packs folder, just so it doesn't easily get lost (I don't have many installed :P)
Next, you click start, search "run" open that, type in "%AppData% and click .minecraft folder. So now you are at the location of the files, time to fish 'em out!
Files needed:
- pack.png (found in minecraft.jar (You need 7Zip, or WinRar to open it))
- pack.mcmeta (Also found in minecraft.jar)
- assets (minecraft.jar)
- assets (there is another assets folder in .minecraft, just don't do anything with this one yet)
Putting the texturepack together
Ok, so now you have the files. Put all of them but the second assets folder (the one in .minecraft) into you're folder. You now want to copy the CONTENTS of assets2 (that's what I am refering to the .mineraft one now) to the other assets folder, but don't dump them in there yet! You dump it in the minecraft folder which is in assets1. Now just edit them all you want! "WAIT, WHATS THE PACK.MCMETA???!?!?!" Don't worry Bob3, its just the pack description. You can open it with notepad, (Just do open with, notepad)
Some tips
If you want to do a 32x32 texturepack, you just make the size of everything 32px biger. NOTE: DO NOT, NOT NOT NOT NOT!!!! USE MSPAINT!!!!!!!!!! JUST NO.I hope this helped you. If it did not, please let me know which part you were confused about, or which part didn't work!
| Tags |
tools/tracking
2786033
6
how-to-make-a-resource-pack-and-some-textureing-tips


 Ww2guru73
 MistFaller
 RocketStudio
 TorenokRed
 Escapazition
 Carrotthepig
 trd456
 DADred


 GalaxyCat24
Create an account or sign in to comment.