

• 4/20/13 9:48 pm
- 2.4k views • 0 today
Added CreditCharas Sprite Maker, and Sprite Creator by BrianPaulJensen
- 6
- 1

38
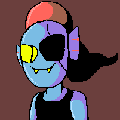
Good Evening Planet Minecraft! I recently stayed up until 3am after I discovered a fun and easy project perfect for gamers. In this tutorial I will talk about how to make and animate your own personal sprite like this one!
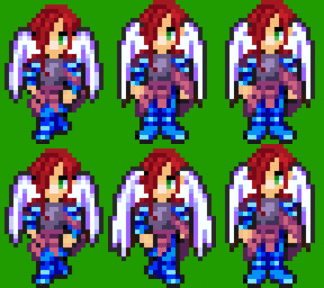
This project requires:
A sprite maker - I have found a few of these, one for your browser, and one to download. I'm sure there are more out there if these don't suit your style, but This is what I have:
Charas Project - A browser based sprite maker. Used to create the above example
Sprite Creator 3 - This Sprite maker is for download. It should work for both Windows and Mac OS X as it uses a .jar and .bat launcher. I found that I could not open the program with the launcher, I just used the .jar itself. It's an executable .jar file. It runs quite well.
Adobe Photoshop (A recent enough edition to support animation/timeline or another image editor that supports animation such as GIMP) This is a fairly simple project, no extensive Photoshop skills are needed.
First thing you will need is a sprite. I have found a couple of different options for creating Sprites with generators.
For this tutorial, I will be using the Charas Project sprite creator. The first thing you will want to do is pick your body type. This creator has a drop down list for several different types of sprites. I like the tall sprites, so I will choose
Chara-tall
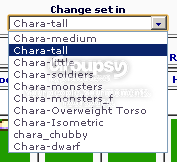
When you select your character set, you will get a list of options for your body type.
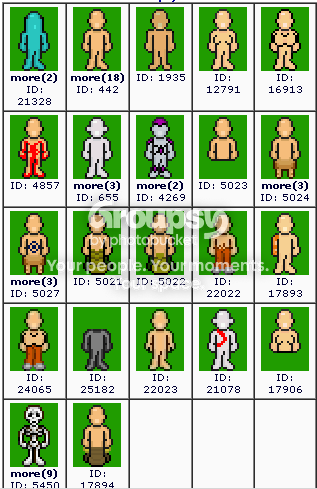
I want to make a girl sprite, so I will choose the fourth option. You will get a preview on the side that looks like this

This sprite is faceless, bald, and nekkie, so we're going to fix that. There are tabs at the top of the sprite options sections for each part you can customize.

Depending on what type of character you choose, there can be lots of options to choose from.
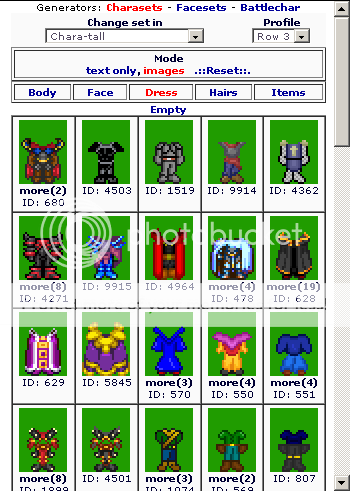
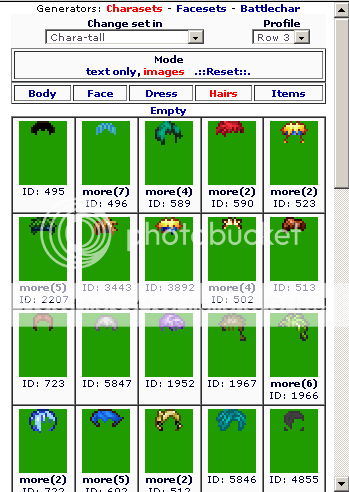
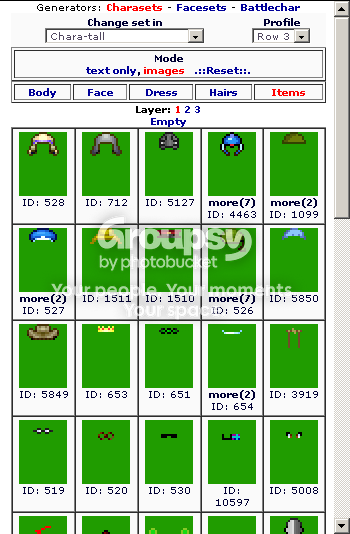
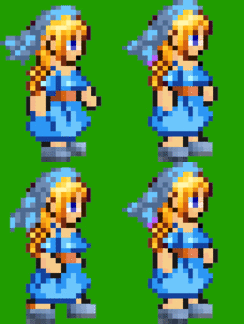
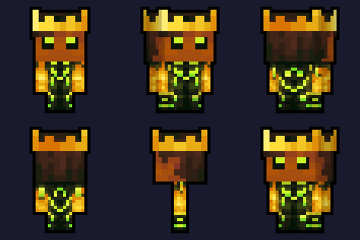
This is our finished product.
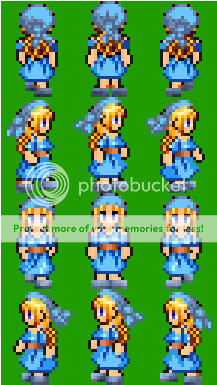
Now we need to turn it into an animation. We can slice up each frame and line them up, but there's a much easier way to do this.
In the preview section there is an "Animated Preview" button
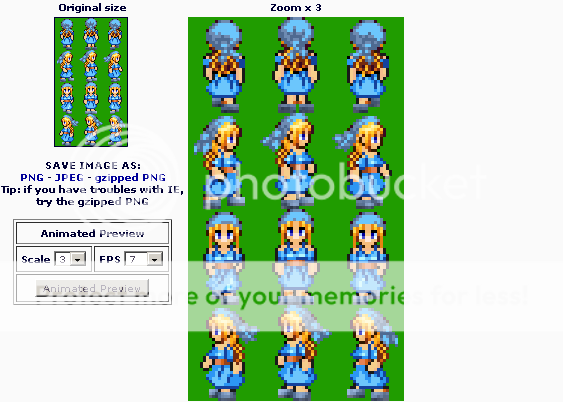
This will show a GIF of every frame you see above. It looks like this, save this image.

Now if you want your sprite to spin around and around forever, you're done! However you can customize the movements however you want. Let's get started on that.
You will need a program like Photoshop or GIMP that supports timeline/animation. I am using Adobe Photoshop CS6 for this tutorial.
Open your image in your program
File>>Open...
Then select your file to open
Now we need to enable the Timeline. We do this by going to the top menu and selecting
Window>>Timeline
You will get a toolbar that looks like this
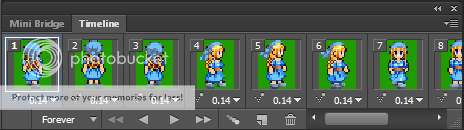
- This is the entire GIF image. We want to create our own animation, so select all the frames (select the first one, scroll to the last one, and select it while holding shift) and click the trash icon to remove all the frames. You will be left with the frame that is currently visible.
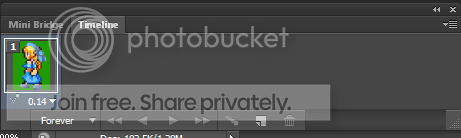
Select the first frame you would like to use. The layers section has every frame of the GIF. Select a direction to start. I'm only going to go one direction, but it will be very easy to continue in whichever direction you would like.
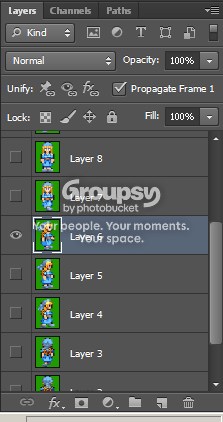
I'm going to have my sprite walking to my right, so I'll start with layer 6
The timeline will show whichever slide is visible. The eyeball on the layers panel shows visibility. Right now, the only visible one I have is layer 6.
I'm going to go to my timeline and create a new layer.
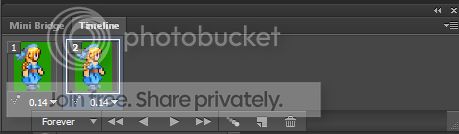
This will create a new slide, saving the previous one in it's position. Now you can make this frame invisible, and pick your next one. I'm still walking in the same direction, so I will select layer 5 now.
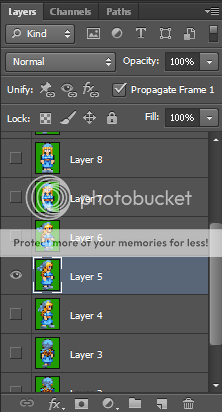
Now Create a new layer to save that frame again.
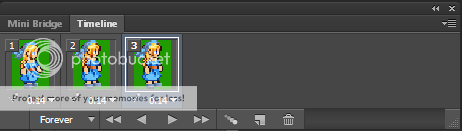
Change to the next frame and repeat.
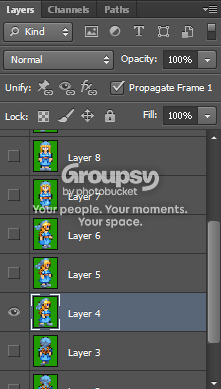
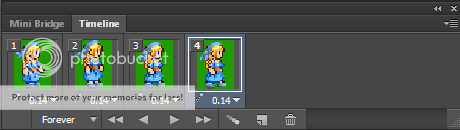
Now I'm going to go ahead and stop my animation here. You can continue going in any direction you want, just follow these directions again with a different direction. Before I begin the process of finishing this we want to make sure it has a smooth transition for the loop. Without the right transition you can get a sprite that walks kind of derpy
like this:
 Every day I'm shufflin'
For a smoother transition, select the middle more neutral pose. If you make this the last slide, it looks like it is stepping back into the beginning frame

This is what we have so far
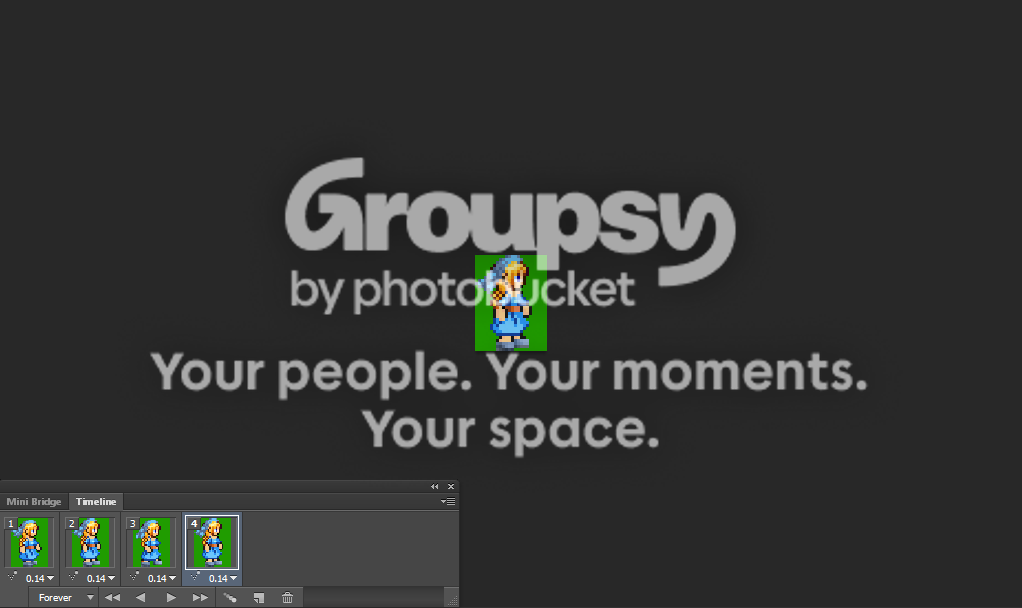
This image is a little too small for me. I want to make it bigger. The wonderful thing about Pixel art, is we can make it bigger without sacrificing details. Here's how to do it in Photoshop. Start by selecting:
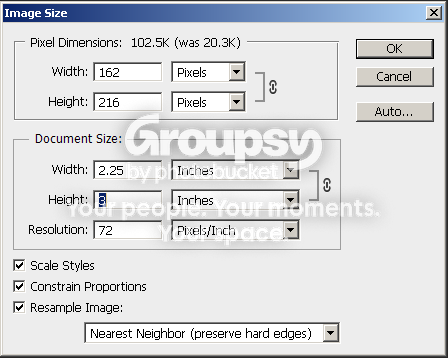
Image>>Image Size
In the dialogue box here, decide on either how tall or wide you want the image to be. (Changing both out of aspect ratio can make it stretch weird. I'm going to make my image 3 inches tall. Make sure the Resample Image is selected and choose Nearest Neighbor (preserve hard edges)
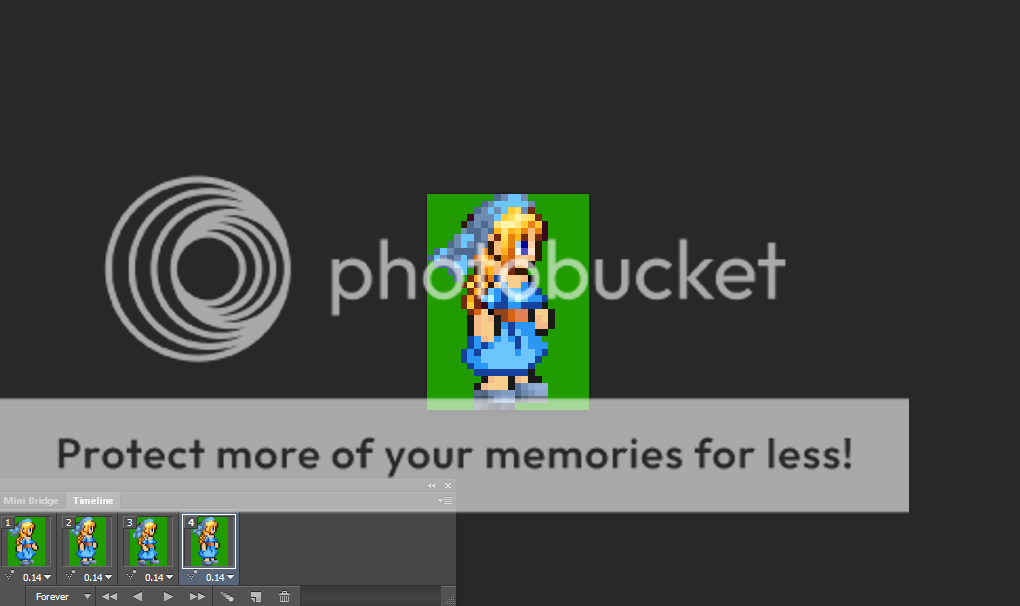
Select OK and now you should have a much bigger image
Okay, now it's time to save our project to see the finished product. On the top menu, select
File>>Save for web (Or Alt+Ctrl+Shift+S)
You will get this dialogue box

From this menu, make sure the file type is set to GIF and the animation looping options is set to Forever. After that, shit the save button, and save it where you would like.
Just like that, we're done! Here's our finished product!
I hope this tutorial was informative, and you had fun making your own sprite! If you made one, post it here! I'd love to see what you've made :)
More like this

![GIF files for dummies (Tutorial on how to make simple animations) [Tutorial] Minecraft Blog](https://static.planetminecraft.com/files/resource_media/screenshot/1309/ForDummies_4965765_thumb.jpg) GIF files for dummies (Tutorial on how to make simple animations) [Tutorial]Tutorial Blog
GIF files for dummies (Tutorial on how to make simple animations) [Tutorial]Tutorial Blog Profoak0117
3/5/13 9:17
• posted 3/3/13 10:59
5.5k 9x 1113
Profoak0117
3/5/13 9:17
• posted 3/3/13 10:59
5.5k 9x 1113
 Make Animated Avatars For Planeminecraft (and more sites)Tutorial Blog
 eij1298
•4/21/12 9:01
2k 18x 181
eij1298
•4/21/12 9:01
2k 18x 181
 Sabretooth[CZ]
 Kireblue
 Sir_Meep
2071673
6


 thewind



 Adventures of WildGoat
 Xeno_X1
 Aedan5
 princess tratinczica
 uzvarua
Have something to say?