


• • 9/17/12 1:41 pm • 2 logs
- 7.5k views • 0 today
- Progress
- 100% complete
Added CreditThe Creators of Tekkit, and the one who asked… info
- 3
- 2

48
Ok, as I said in my blog, I'm making a tutorial on how to build my cloud platforms. However it's being done in tekkit since that's how the original requester will be building it. Though you can easily replace the scaffolding of tekkit with sand/gravel blocks and ladders if your playing vanilla.
What you'll need:
Suggestions for Build locations:
Steps:
Thank you for fallowing this Tutorial, I hope it helps. If you have any questions feel free to drop me a PM.
Bonus Tutorial: Shoulder deep water:
Should you run into trouble, PLEASE contact me so I can help with the issue.
Feel free to comment if you find an easier way to do a step.
What you'll need:
- At least 2 double chests full of 64 stacks of either: Snow (I use this), Wool, or whatever you wish to use.
- Iron/Wood Scaffolding or gravel/sand with ladders if playing vanilla minecraft
- Swiftwolf's Rending Gale (and lots of fuel if your version requires it), unfortunately vanilla players not in creative will need to build a large platform under the cloud's lowest point to work from.
- At least 3 different sized spheres, the largest being 3/4th the diameter of the "build surface" of the cloud.
- Lots of time and patience. This is not an easy build for a number of reasons.
Suggestions for Build locations:
- If using snow stay away from lava and desserts.
- If you tend to fall off large builds, build over water or create a landing pool below.
- Always build a good distance above the ground for realism.
- If In tekkit, build up where the wind is howling, it'll be good for power.
Steps:
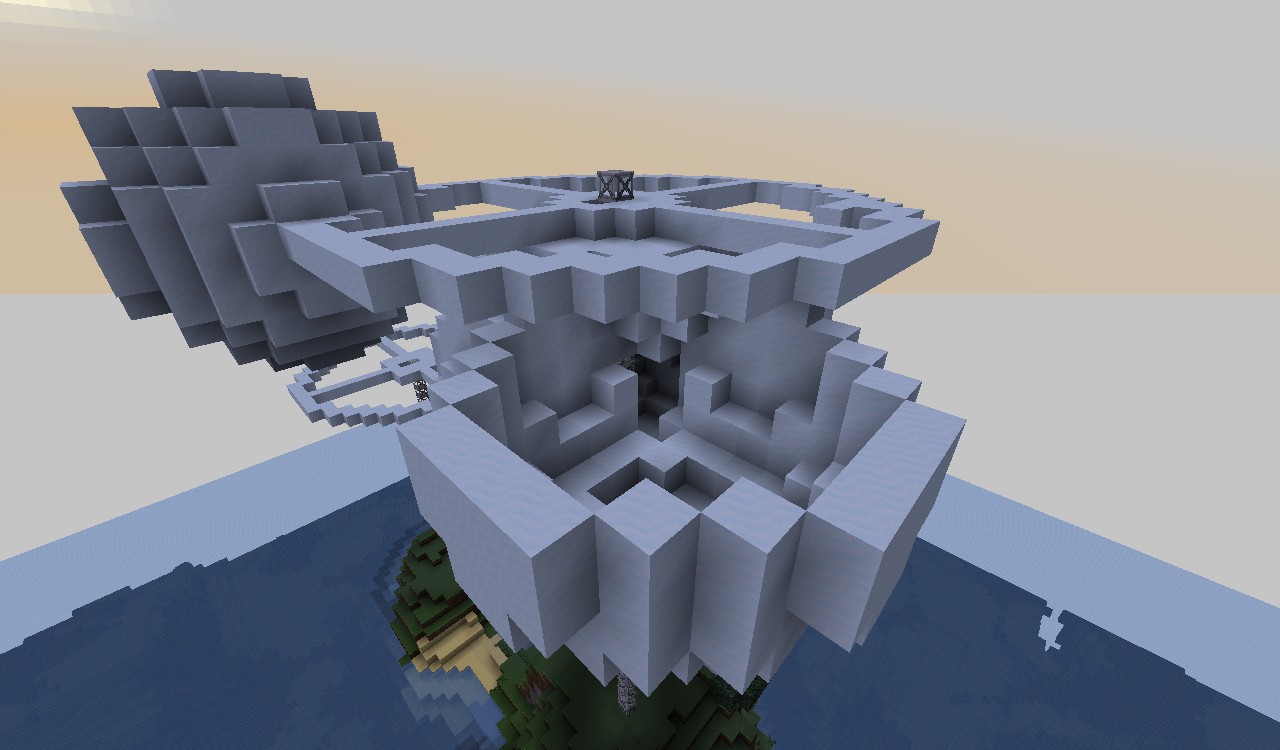
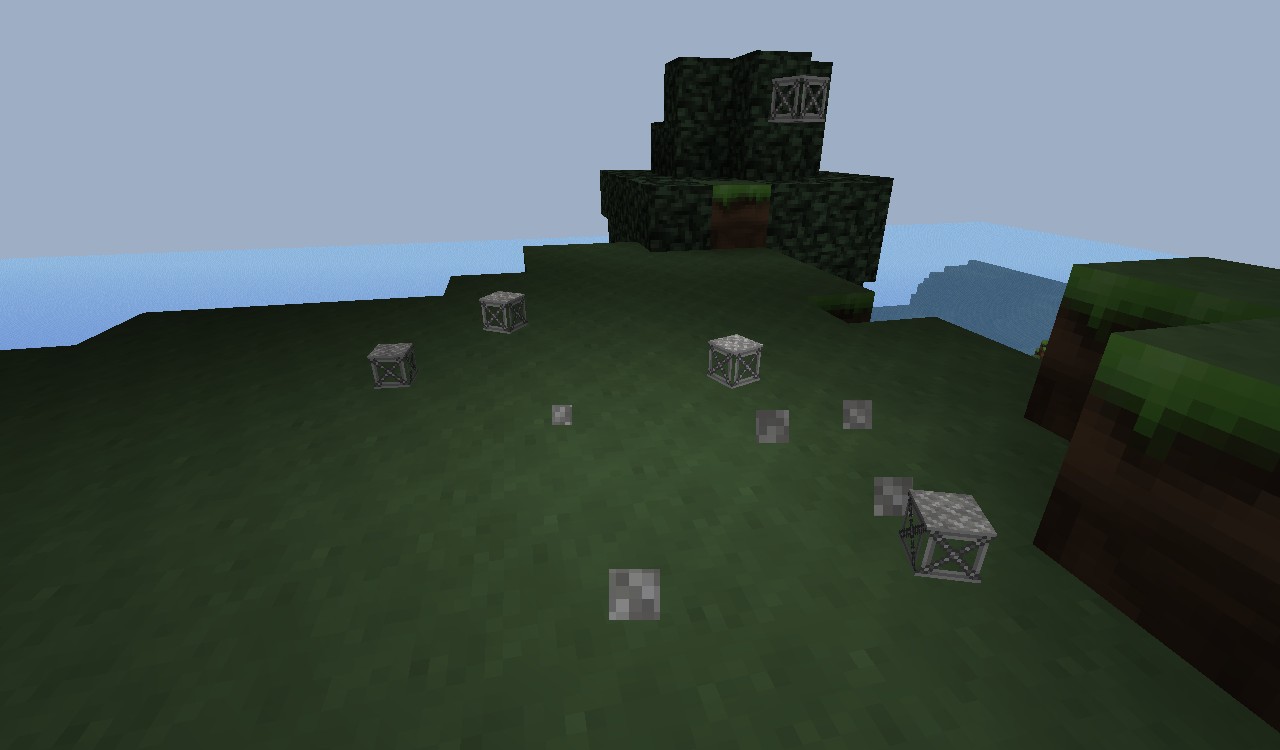
- determine the size of the circular "build platform" layer that will be needed. Please note that the actual flat area when you finish may be smaller then when started, so leave make sure to have the size a few blocks wider then needed. The platform is circular because that will help give the cloud a more natural repentance. Mark this out on the ground if you need to.
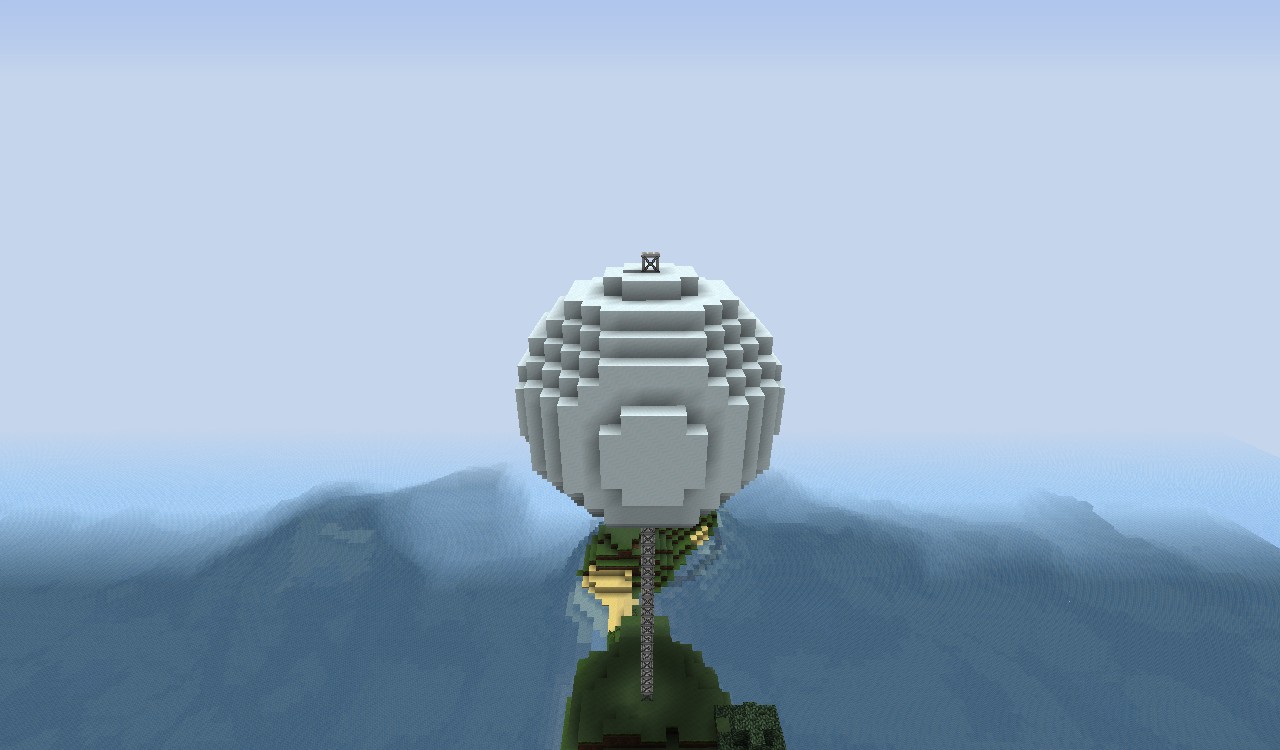
- Find the center of your build and start nerd polling up to the level where the lowest point of the cloud will be, which is the diameter of the largest sphere.
- Build the first layer of the sphere here but leave a opening next to the scaffolding to climb back up through in case you fall off..
- Finish building the sphere except the very top layer, return to the center and nerd pole up to that point then finish off the layer the same way you build the first layer, leaving a hole to get back up through. (If making a solid sphere then make sure the hole runs all the way through.)
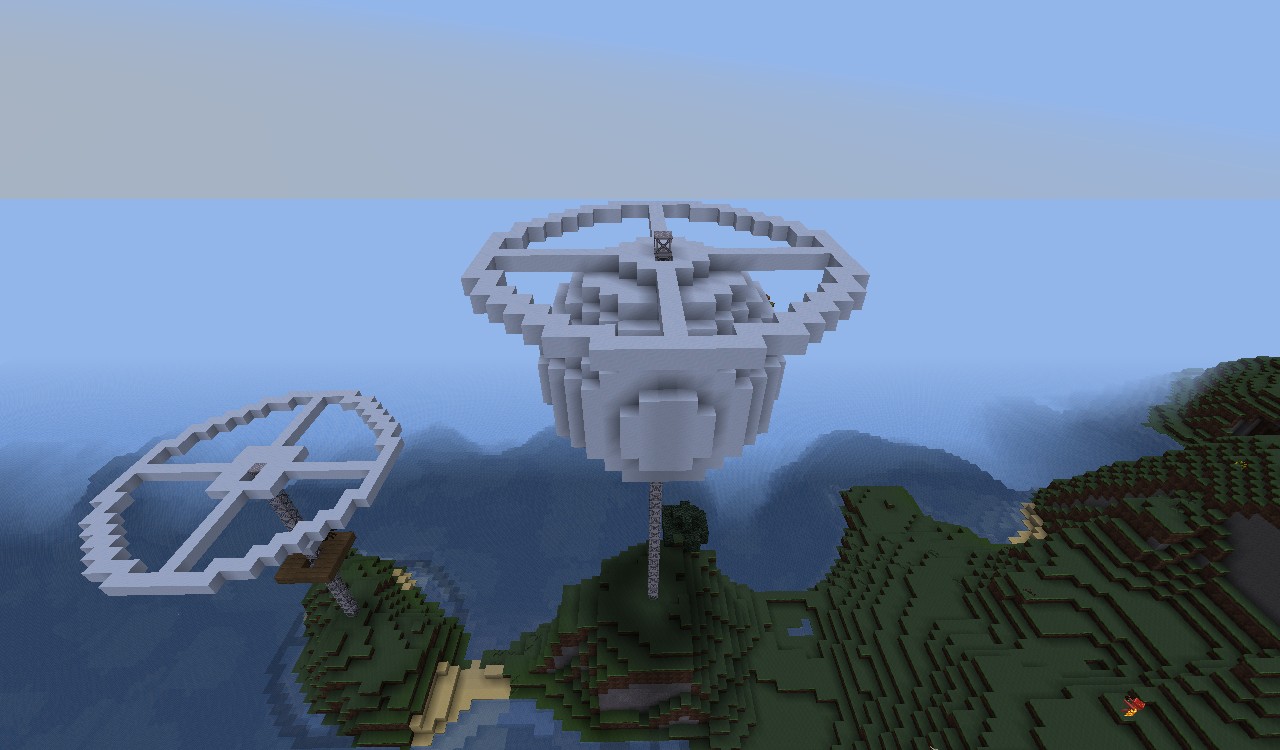
- Now, using this last layer and the scaffolding as the center, build out the "building platform" as shown in the above picture, you can fill it in if you wish but I find it easier to plan when I can easily tell where the edge are.
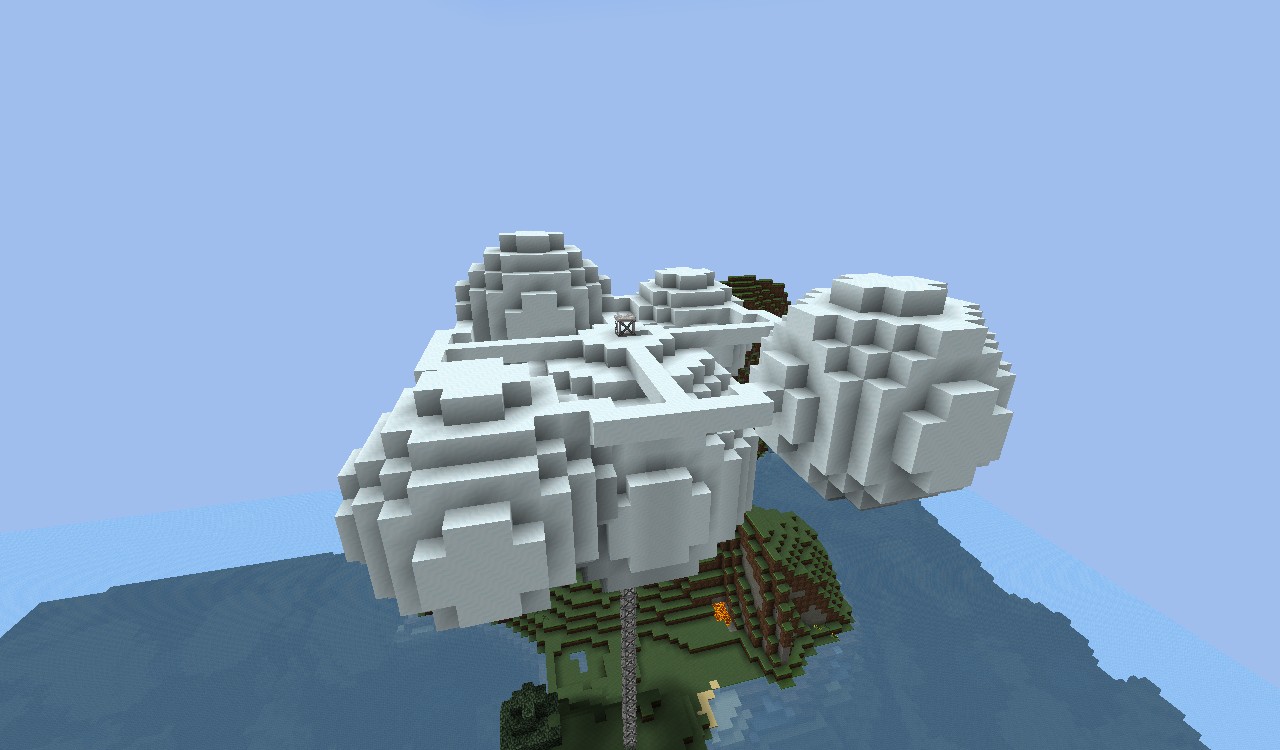
- Nest, plan out the 3-5 points you wish for the second largest sphere's to go. Depending on how many different sized spheres and how big the cloud is you may need to add or remove points. Please note that only 1 or 2 should actualy stick up above the platform.
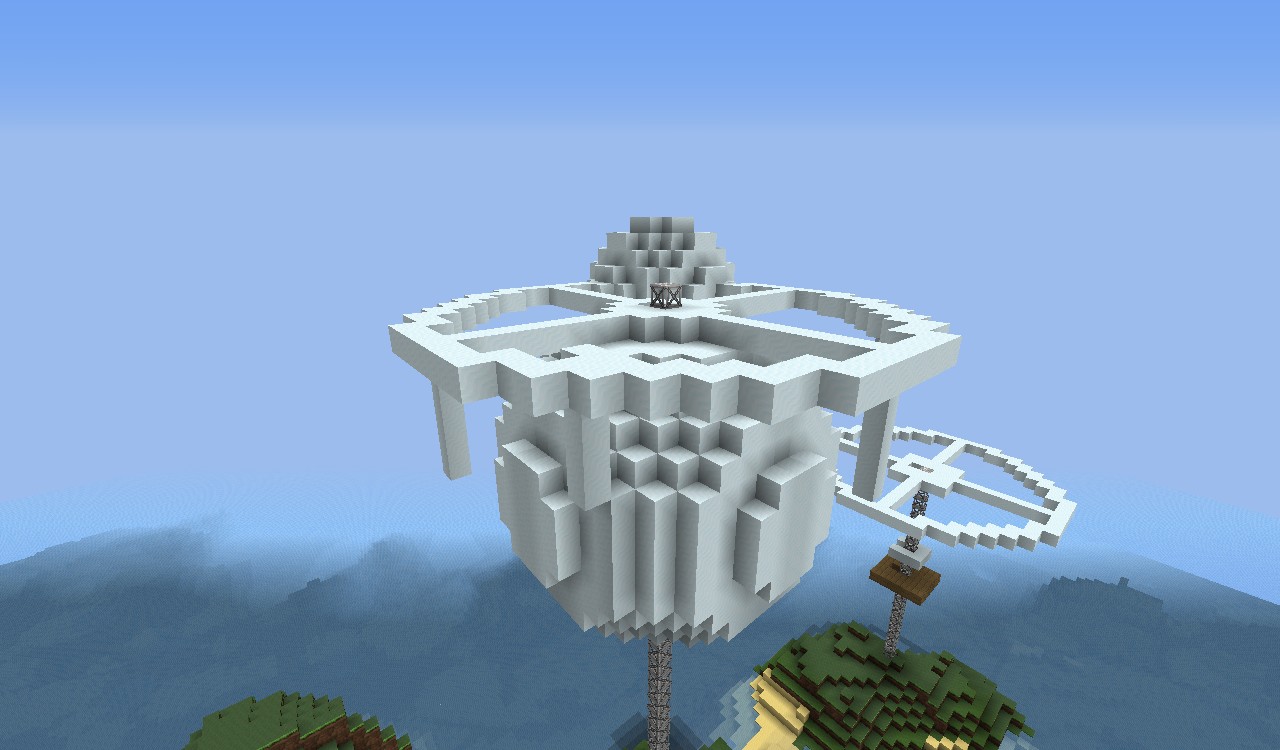
- Start building the sphears one by one, this is where the "Swiftwolf's Rending Gale" comes in handy as it's much easier to fly tot he low hanging points then nerd pole up to them.
- (Once done with the placement of the medium spheres you can do one of two steps next: If making a hallow cloud you can fill in the rest of the main platform, if making a solid cloud you can move on to step 9.
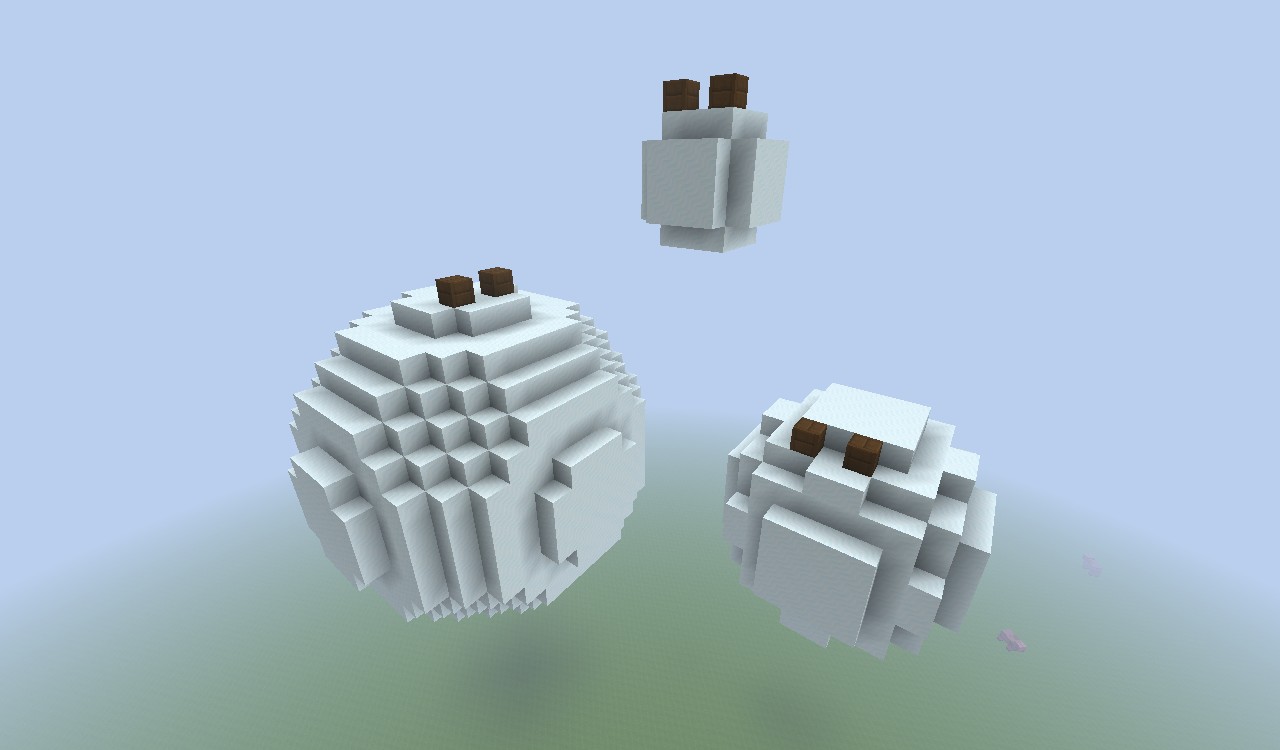
- Now comes the "meat" of the cloud, the smallest sphere (had to increase to 7D). Place the first of the smallest spheres along the edge of the platform, preferably where there is a large gap, make sure to have it poking no more then half way above the platform itself, this is your height marker and starting point for the remaining spheres.
- Fill in the gaps between the medium spheres with the small spheres to make a ring around the top.
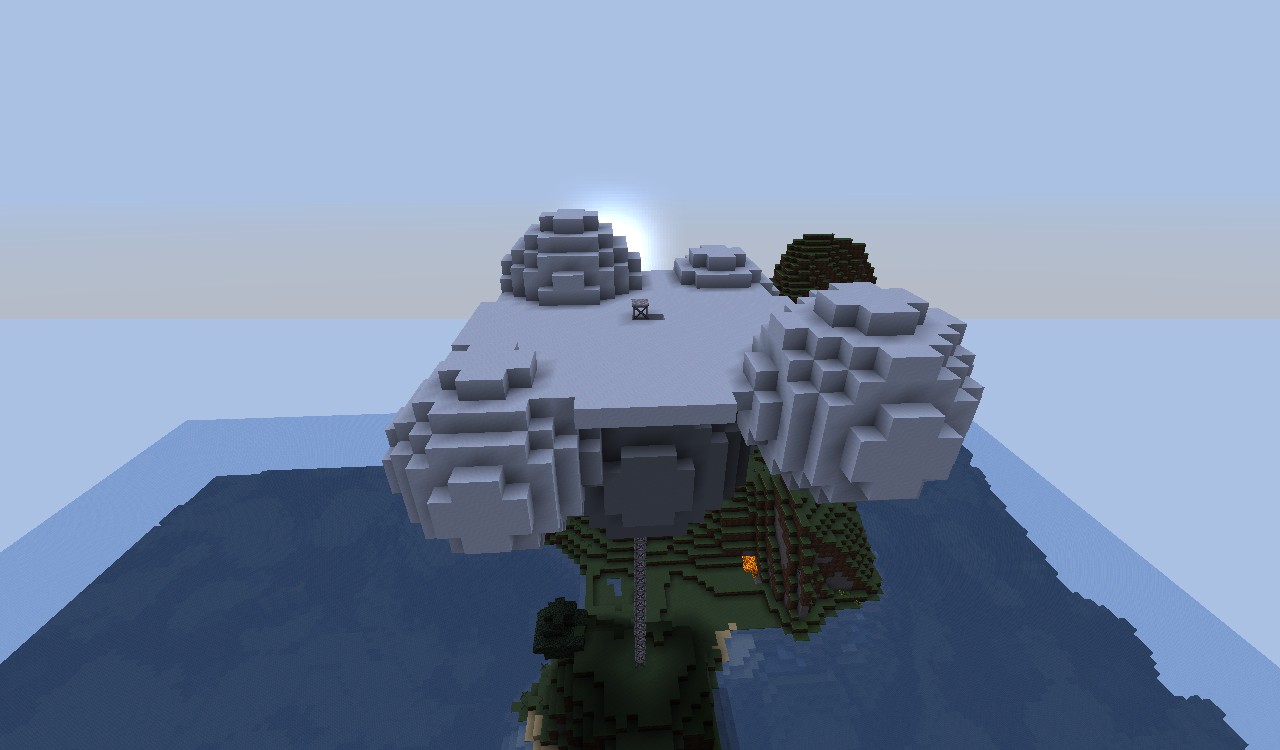
- Repeat this beneath as many times as you wish making the ring progressively smaller (I find only 1 aditional ring to be enough)
- Fill in any gaps and add additional small spheres on the bottom till it looks adequately fluffy to your needs.
- At this point if your doing a solid cloud, fill in the top. If your doing a hallow cloud and have already filled in the top, go inside and knock out any blocks that aren't visible to the outside.
- Now take out the scaffolding, make sure to have a way up if you don't have the "Swiftwolf's Rending Gale" or other method of flight, and fill in the holes from it.
- Start building your structure on your new lovely cloud.
Thank you for fallowing this Tutorial, I hope it helps. If you have any questions feel free to drop me a PM.
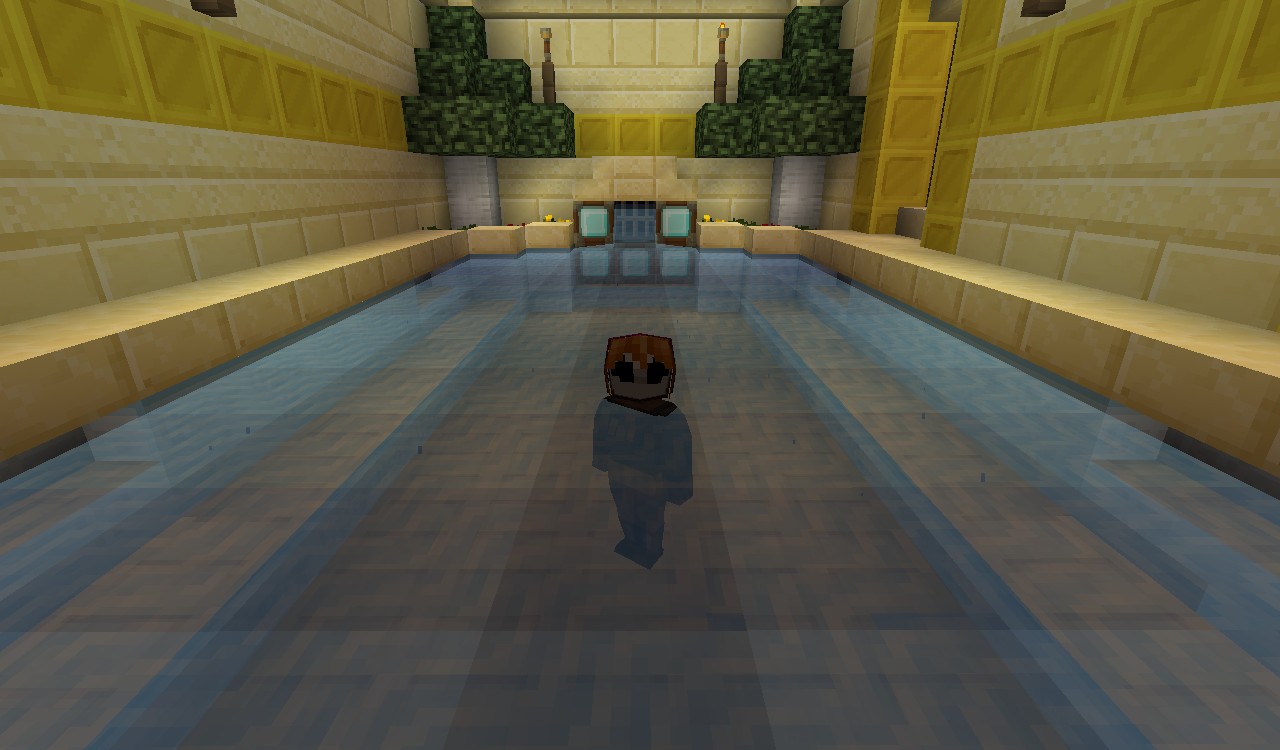
Bonus Tutorial: Shoulder deep water:
- First build your tub, pool, water way and make sure it's 2 blocks deep.
- Next fill the lower layer of air with half slabs. Just regular half slabs, not double half slabs. If you wish you can put stairs along the edges so it curves in or against one end as a sort of seating.
- Fill the rest with water so it's 1 block deep.
- Hop in and soak that tired body without drowning or sticking half out like your wading.
Additional Notes
Please not this is a work in progress still and can be a bit confusing.Should you run into trouble, PLEASE contact me so I can help with the issue.
Feel free to comment if you find an easier way to do a step.
2 Update Logs
Update #2 : by Rubydust 09/17/2012 3:26:17 pmSeptember 17, 2012 @ 7:26 pm UTC
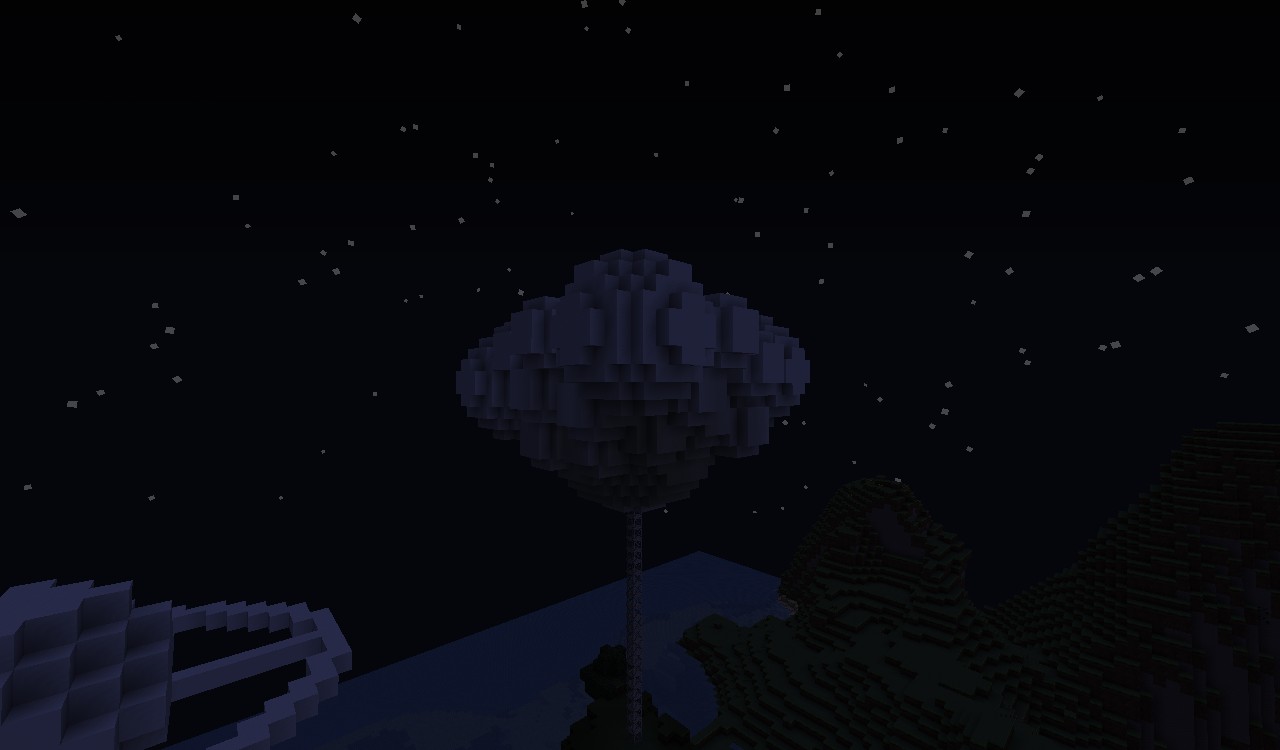
Finished project, didn't completely hallow out the cloud as this is only a tutorial. If you'd like to see a structure built on it, I'm open to suggestions.
LOAD MORE LOGS
More like this


 Blaxo
Blaxo
 21nert12

1427726
2


 Ryguy1640


 GARRETT2BY4


Have something to say?