4
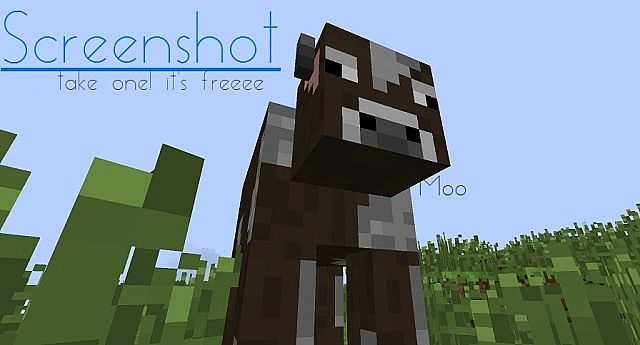
Hello, PMC'er. In my last blog, STAFF APP: Do's and Don'ts, I mentioned taking a screenshot. However, many people sadly do not know how! I will try to explain how to take one. It's really not that hard!
1. Press F1 near your build in Minecraft. This takes away your cursor, hand, itembar, and chat (in multiplayer) so that your screenshot is clean and professional. Technically this is optional, but it is heavily recommended.
Look on your keyboard for a button called Print Screen or PrntScr. This basically just makes an image, orscreenshots what is on your screen. Therefore you can also use this on other things, such as a webpage.
2. Search your computer for an art program. If you have a Windows computer, then simply search your computer for an application called Paint or Microsoft Paint. If you are on a Mac, then look for a similar art program. I am not sure what art programs are already installed onto your computer, but you can easily research for art programs. GIMP is a good one, but can be a bit complicated for newbies.
Now, if you are using Paint, simply press Ctrl + V or go to the clipboard image at the left and press Paste. Ctrl + V should work for other art programs, as well.
Rarely after doing this you have a perfect image, so we will have to crop it.
3. Crop it.
Paint - Press the select button near the left, and then make a box just around the part of the image that you want to keep. Now look for a button that says crop or simply right-click and press crop.
Other Programs - Look for a button (usually with a square icon; possibly arrows too) labeled crop and then make a box just around the part of the image that you want to keep.
Messed up? - If you made a mistake, then simply press Ctrl + Z to undo.
Now you're almost done! Simply save the file onto your computer now as either a .jpg or .png. PNG's tend to be higher quality, though.
4. Locate an image-hosting website such as Imageshack or Tinypic. I personally use Imageshack, but Tinypic doesn't require an account, so if you are a one-time user than Tinypic may be better for you.
After that, try to locate the Raw Image. If you didn't know, every image has a url. If you have uploaded your image onto, for example, Imageshack, then the raw image url should be something similar to img580.imageshack.us/img580/1025/ztqg.png. Once you have that image, you should be done! If you are curious to know the HTML (coding) for showing an image, it's .
.
I hope I helped! ^^ Thanks for reading and have fun taking new screenshots!
If you have any questions, comments, or constructive criticism, then please comment below!
1. Press F1 near your build in Minecraft. This takes away your cursor, hand, itembar, and chat (in multiplayer) so that your screenshot is clean and professional. Technically this is optional, but it is heavily recommended.
Look on your keyboard for a button called Print Screen or PrntScr. This basically just makes an image, orscreenshots what is on your screen. Therefore you can also use this on other things, such as a webpage.
2. Search your computer for an art program. If you have a Windows computer, then simply search your computer for an application called Paint or Microsoft Paint. If you are on a Mac, then look for a similar art program. I am not sure what art programs are already installed onto your computer, but you can easily research for art programs. GIMP is a good one, but can be a bit complicated for newbies.
Now, if you are using Paint, simply press Ctrl + V or go to the clipboard image at the left and press Paste. Ctrl + V should work for other art programs, as well.
Rarely after doing this you have a perfect image, so we will have to crop it.
3. Crop it.
Paint - Press the select button near the left, and then make a box just around the part of the image that you want to keep. Now look for a button that says crop or simply right-click and press crop.
Other Programs - Look for a button (usually with a square icon; possibly arrows too) labeled crop and then make a box just around the part of the image that you want to keep.
Messed up? - If you made a mistake, then simply press Ctrl + Z to undo.
Now you're almost done! Simply save the file onto your computer now as either a .jpg or .png. PNG's tend to be higher quality, though.
4. Locate an image-hosting website such as Imageshack or Tinypic. I personally use Imageshack, but Tinypic doesn't require an account, so if you are a one-time user than Tinypic may be better for you.
After that, try to locate the Raw Image. If you didn't know, every image has a url. If you have uploaded your image onto, for example, Imageshack, then the raw image url should be something similar to img580.imageshack.us/img580/1025/ztqg.png. Once you have that image, you should be done! If you are curious to know the HTML (coding) for showing an image, it's
 .
.I hope I helped! ^^ Thanks for reading and have fun taking new screenshots!
If you have any questions, comments, or constructive criticism, then please comment below!
| Tags |
tools/tracking
2414115
6
-how-to-make


Create an account or sign in to comment.