136
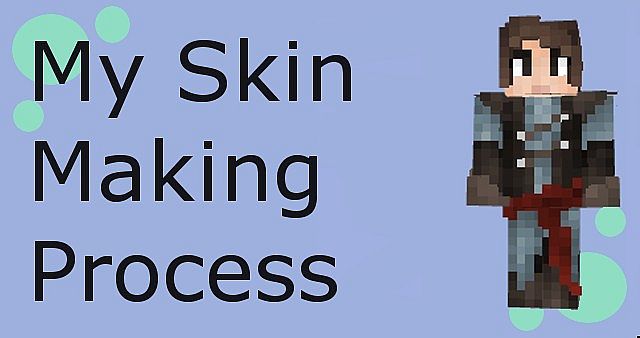
To celebrate 30 subscribers I'm making this tutorial on how I make skins.
In this tutorial I will be using MCSkin 3D to make my skin.
Step 1: Plan Ahead
Planning ahead can really help you during the skin making process, one thing I like to do is find a picture and then base my skin off that. For this skin I'm going to base my skin off a picture created by Andantonius on deviant art. Be sure to choose something that you think is not overly detailed or else you might find yourself with a challenge (unless that's your goal).

Step 2: The Base
The base of the skin is simply the skin without any shading. It sets your skin up for success, so you need to make sure it looks good before you move on. A problem with making skins based off a picture is that you have very limited space, so you wont be able to fit in all the details. You need to pick and choose what to keep and what to drop.

As you see, this skin has very little detail, and it's good to avoid minor detail, especially right now. A lot of minor details will be lost after you shade, so they are best left out until after the shading is finished.
Tip: Make sure you choose the right colours now, they are very hard to change after you've shaded.
Tip: Make sure you choose the right colours now, they are very hard to change after you've shaded.
Step 3: Noise
Many of you might be familiar with the noise tool, and while it is helpful, only use it in moderation. It adds some nice variation in colour that makes the skin seem more appealing, but a fatal flaw many skin makers do is to use it way too much. Only set the noise to level 2 at most so as not to ruin the skin.

Step 3: Shadows
Find the spots on your skin that should be under shadow, like under the sleeve or under the hair, and darken these spots. This will help you keep track of where the dark and light go later on.

For this part I use the Darken/Lighten tool at around 18 exposure, though this varies on what colours you are working on. For dark colours, lower the exposure so as not to make it pure black, while on light ones increase it or else you wont see any noticable change.
Step 4: Blending and Highlights
This is the most time consuming part. Take the darken/lighten tool and lower the exposure on it, then move outward from the area you already darkened, lowering the exposure as you go so as to make a sort of dark-light gradient. This makes it so that the shadows don't feel so sudden and sharp. I will often add the minor details at this point as well. Once the shadows are done, look at the skin and find the spots that are not in shadow, and then use the darken/lighten tool to add highlights. This part takes some thought as to where shadow and light go, and takes some practice to perfect.

The Pros and Cons of This Method:
| Pros: | Cons: |
| It looks appealing Always unique The shading doesn't stand out too much | Time consuming Takes Practice It's different for every skin Works poorly on light or pastel colours |
While this shading method works well for me, it may not for you. I recommend looking at other shading methods, and trying some of them. Mix some up, and create your own method! There is no set way to make a skin, just like any form of art, skin making takes practice. In the end the way you make skins comes down to you, and what makes you the happiest.
| Credit | DuckLord69 |
| Tags |
tools/tracking
2952894
6
my-skin-making-process


Create an account or sign in to comment.