


• 6/9/22 1:25 am
- 9.3k views • 2 today
- save_alt 1.2k downloads • 0 today
- Compatibility
- Minecraft 1.18
- to version
- Minecraft 1.19
- Changes include
- Functions
- Recipes
- Structures
Added Creditmusic by [5]. i am not associated with the pe… info
- 24
- 23
- 28
Required Resource Pack

11
recreations of features from various versions of minecraft alpha 1.0.16.5 (primarily Lilypad), with a few things from [RD] thrown in for good measure.
optifine is required for a few resource pack features.
i am not associated with those behind AlphaVer.
optifine is required for a few resource pack features.
i am not associated with those behind AlphaVer.
5603790
119

![AlphaVer/Lilypad/[RD] data pack Minecraft Data Pack](https://static.planetminecraft.com/files/image/minecraft/data-pack/2022/790/15760460_s.jpg)

 FoxshyBunny
 User6153368G


 PixelCraft

![XP Dependant Attribute [26.1+26.2] Minecraft Data Pack](https://static.planetminecraft.com/files/image/minecraft/data-pack/2026/984/19926211-xda_s.jpg)
 MidasVertex
 TamilCrafters
 DerexXD

Have something to say?
take a screenshot of the video with the textures you want
crop
add some guides, make sure that theyre perfectly square
use GIMP's perspective transform tool. i have no idea how this tool works you just gotta mess with it. line up the edges of the texture with the guides you made in step 3. i usually spend the majority of the time for this whole process on this step. the better you do here, the better the result will be.
step 5 is to crop the image down to the squares you made with your guides but i forgot to take a screenshot of that oops. by default GIMP will snap to guides so unless you turned that off you should be able to just use the rectangle select tool to select the area inside the guides and then just hit "image -> crop to selection"
scale the image down to the proper size. usually this is 16×16 but since im doing 2 textures at once here, one on top of the other, its 16×32
step 7 is to cry because these textures look better than when you did it the first time
step 7 is to mess with the brightness, contrast, hue, and saturation, since the textures in the video are affected by lighting and such. basically just go ham with everything in the "colors" tab until it looks right.
step 8 would be to separate the textures into individual images, if youre doing multiple at once like im doing here. i also forgot to take a screenshot of this but you can just use the rectangle select tool to select one of the textures, then hit ctrl-c, and then go to "file -> create -> from clipboard"
this step isnt entirely necessary, you could just call it done at step 8, but for step 9 i like to go to "image -> mode -> indexed" and convert each individual texture to indexed color with a maximum of 16 colors. this sort of "flattens out" the colors in the image to get rid of some of the weird artifacts that can be introduced by video compression. as a bonus, this also reduces the file size of the completed image!!
the exception to both of those processes would be the texture for the end portal / hub "skybox", which i made by layering a bunch of carefully selected hub screenshots on top of each other and then using the free select tool to trim out just the skybox from each screenshot, then i scaled the whole thing down to the size of the end portal texture which mostly got rid of a lot of the artifacts. but that only works because the skybox has that sort of greenscreen effect where its in the same position regardless of the angle and position of the camera. (unfortunately, because of the way the end portal texture is layered, it ended up just looking an unrecognizable green blob anyway.......)
EDIT: oh yea, and the sun texture...... that one wasnt made from the videos at all, its just a scaled down version of an image of the crab nebula that i found on the internet. tho i did have to edit it to get rid of the stars, but other than that and the scaling its just some picture of the crab nebula
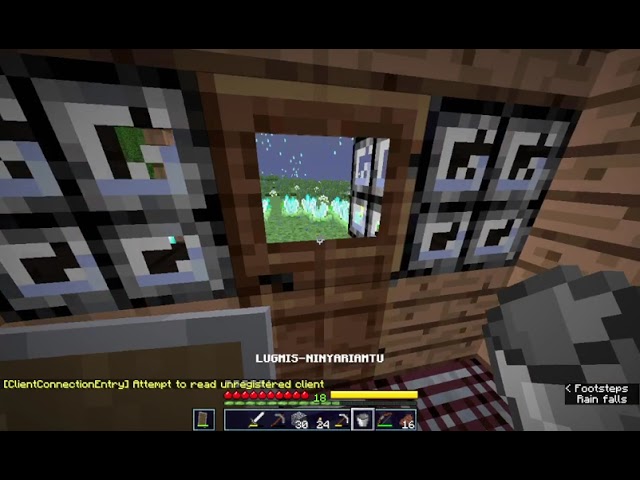
A few suggestions though, maybe lower the amount of soul torches [BlueFire], or even
better have some sort of option to lower it, in my opinion it looks better with fewer, and
has a better performance.
and in my opinion the white tulips [GlowingFlower] should be slightly more spread out, but thats more of
a nitpick.
anyways, AMAZING datapack, textures, and detail! you did fantastic!
PS- in my opinion having the fake grass and fake dirt replace mushroom biomes [mycelium] make a very pretty area!